
Hey ladies! Jared here. When we bought the house one of my biggest dislikes about it were the kitchen cabinets (read about our cabinet painting process here), the front door and porch, and the exterior paint (more to come on this in the future). Our door was faded, had broken blinds, and a giant window that when open you could see everything that was happening on the main floor, so we decided to stain and install an unfinished wood door.
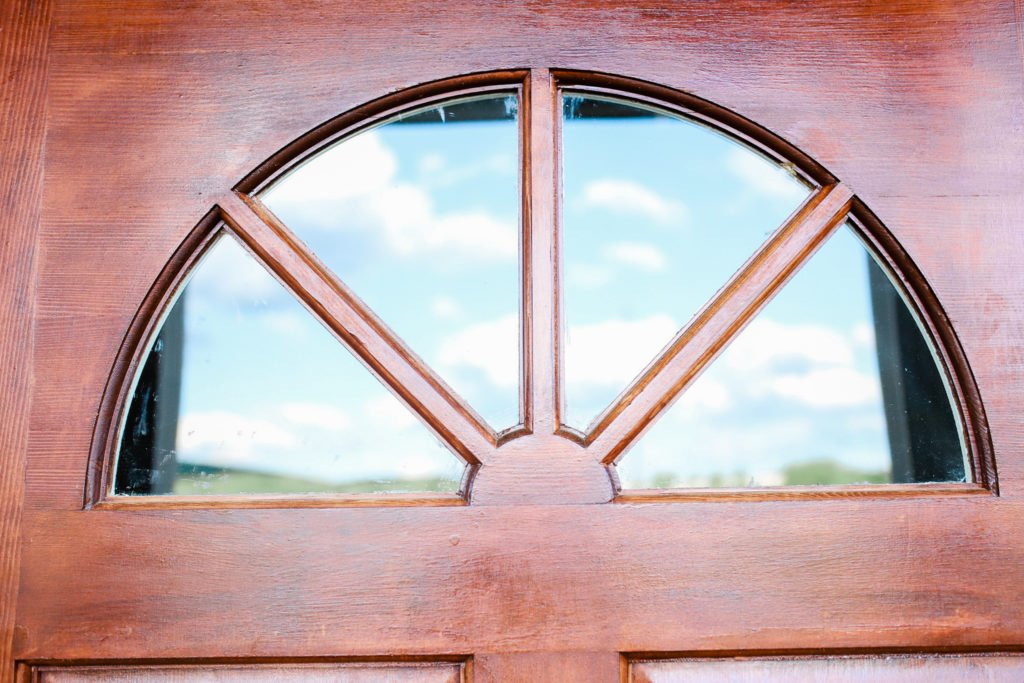
Angela doesn’t love having windows in the front door because she doesn’t like people being able to see in at night. I think it stems from her Law and Order: SVU addiction, but I digress. I knew we needed something with some type of window in order to let light into the entryway. We settled on a door with windows at the top so that no one can see in, but it still allows light to stream in. We are able to get away with clear glass windows because our house sits up about 4-5 feet above the street and so no one driving or walking is able to see into the main floor.
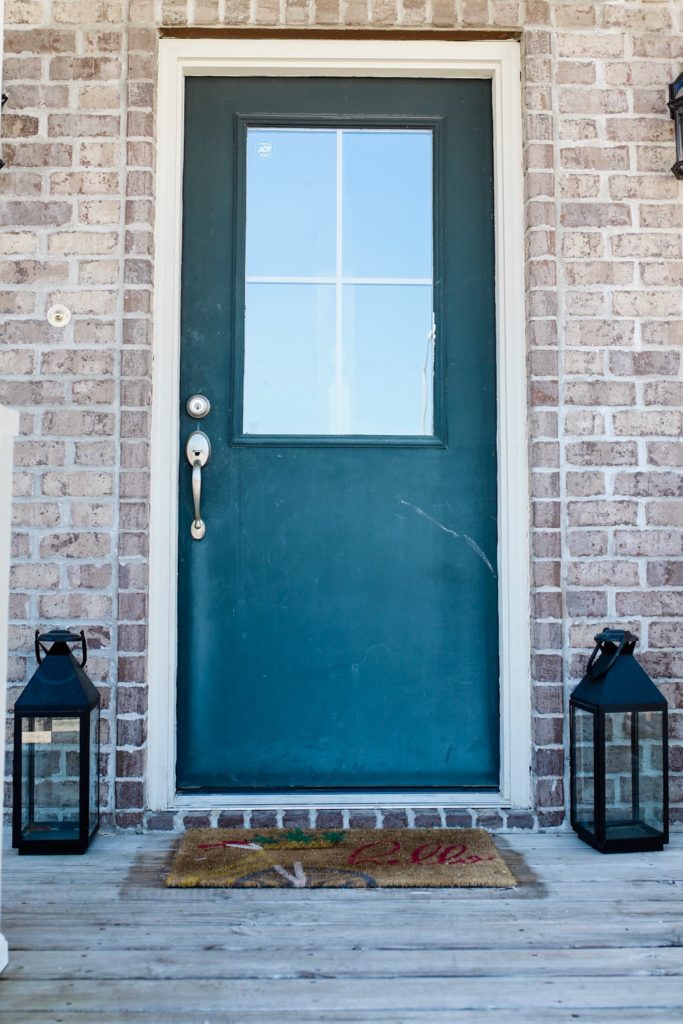
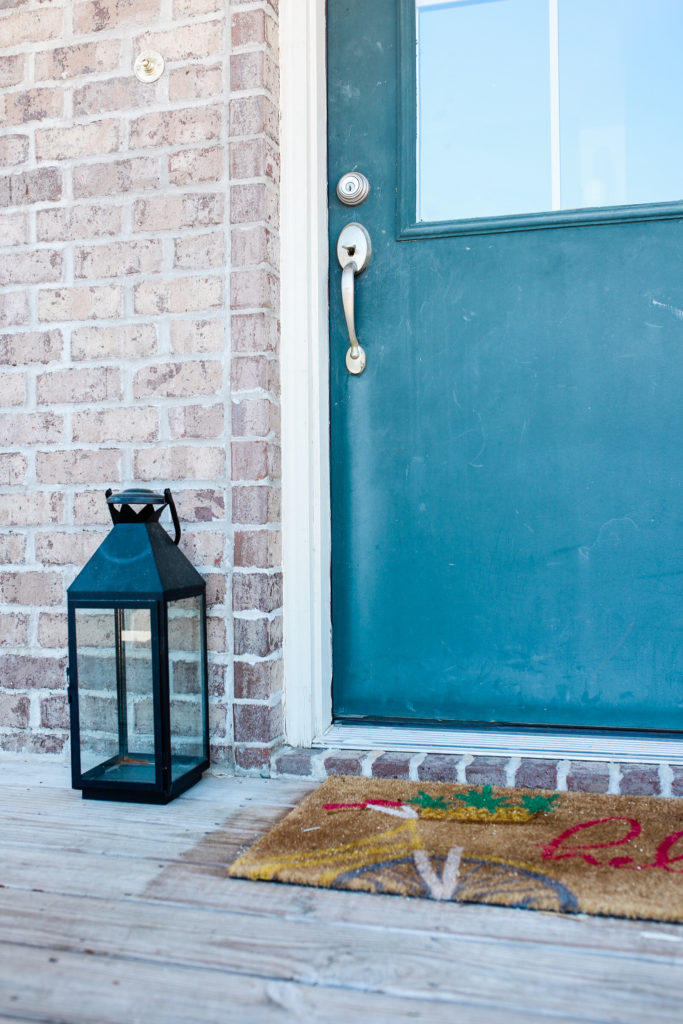
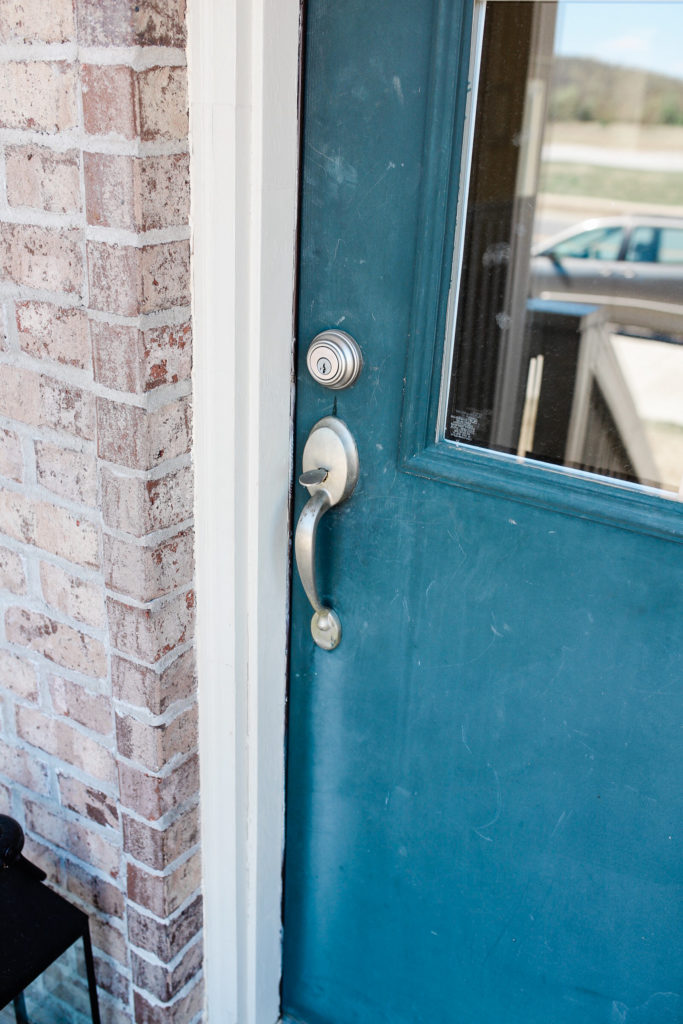
The door we purchased was a solid wood unfinished door meaning it needed to be painted and stained as well as the hinges and hardware needed to be added. The unfinished door is a cheaper alternative to the expensive finished wood and metal doors. Because it was unfinished and not a part of a package with the door frame (we already had a frame installed), I had to buy a hinge installation kit and a hardware installation kit to help with the process.
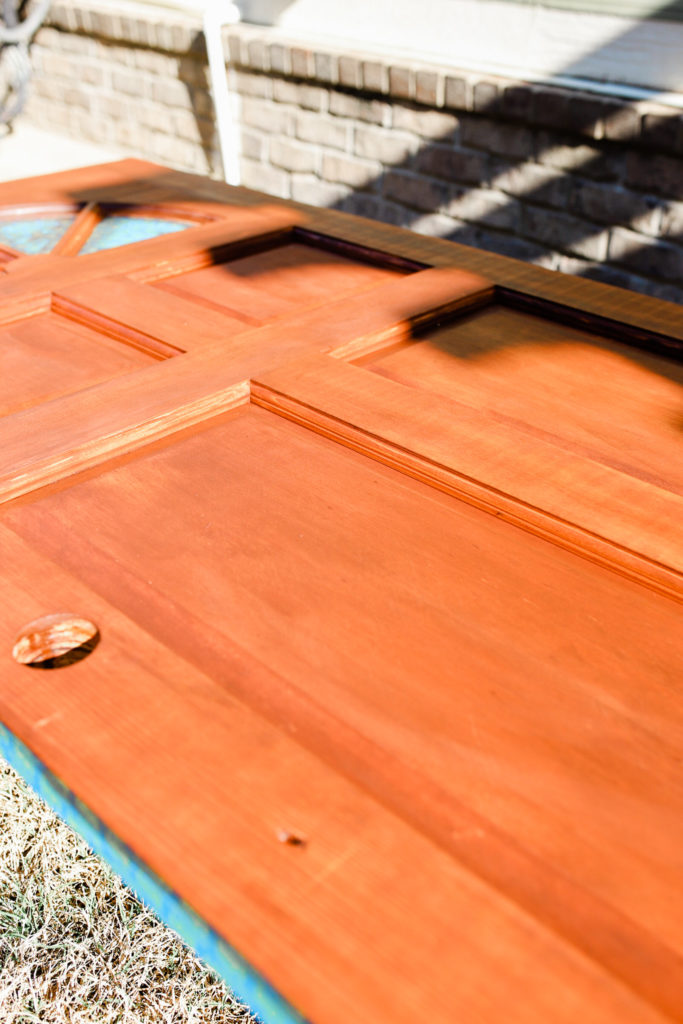
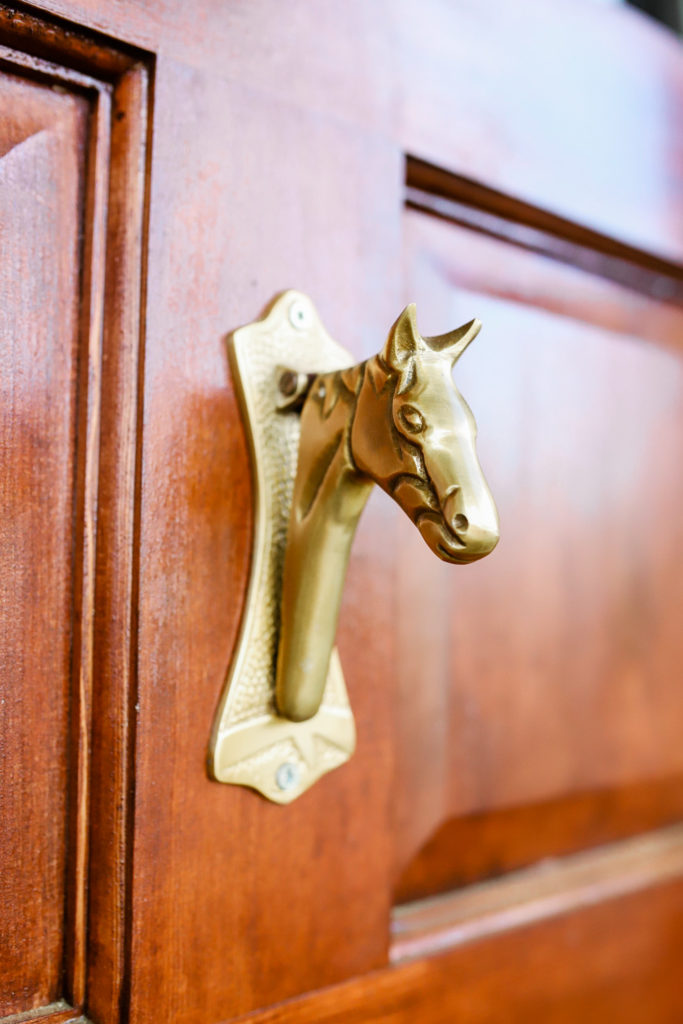
We decided that we wanted to stain the unfinished door to match the current green exterior paint knowing that we can always paint it later if we decide to. I love how the dark stain turned out with the brass hardware and details.
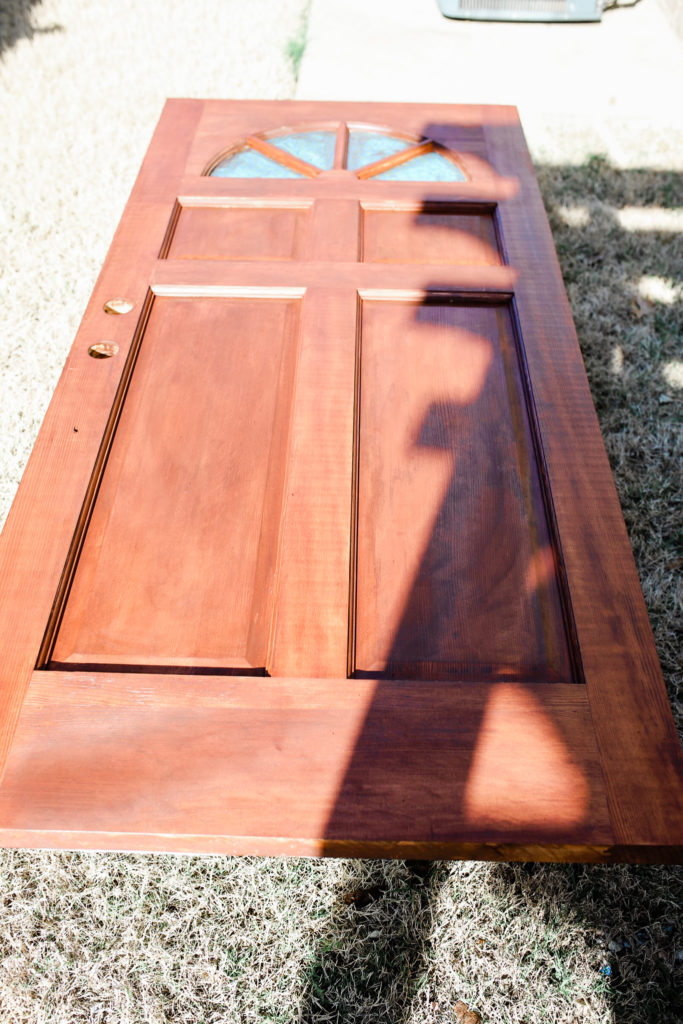
How To Stain and Install An Unfinished Wood Door
- I first started with trimming the door to fit the frame that was already installed in the house. This meant trimming the sides about 1/8″-1/4″ each side and about 1/2″ on the top and bottom.
- Once the door was fitted to the frame, I measured the location of the hinges on the original door and I used the kit and a router to make the hinge cut-outs.
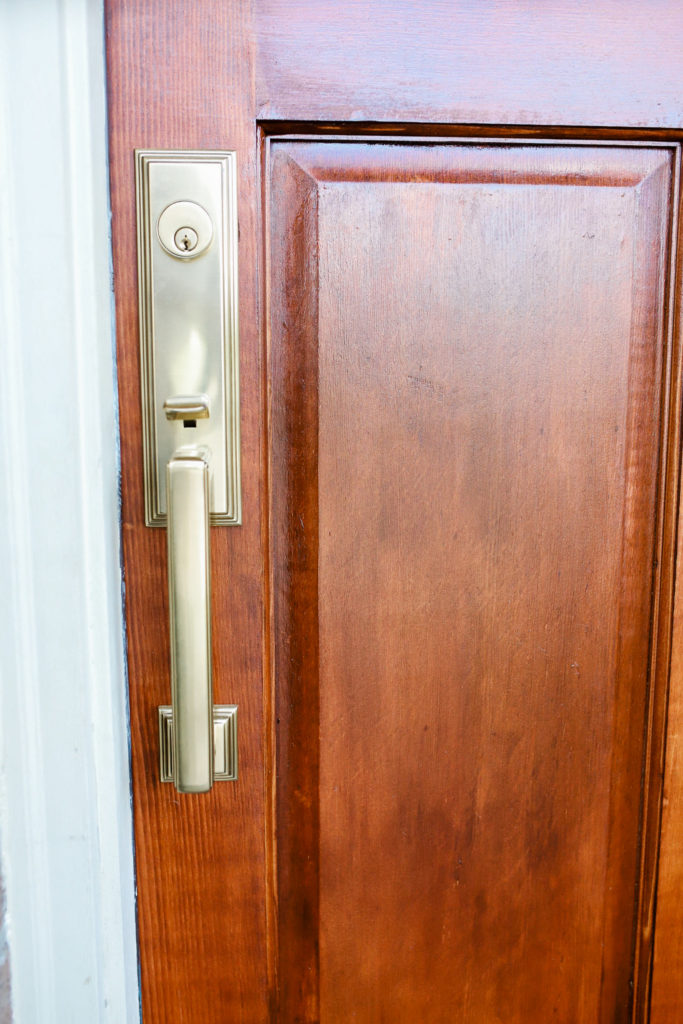
- After that, I cut out all of the holes necessary for the door hardware and test fit the hardware in place before painting and staining.
- Once the door was trimmed to fit and ready to install hardware, I took it to the back yard for staining. I used three coats of stain to achieve the desired color and then installed two coats of polyurethane clear coat to seal the door and seams from the weather (make sure to sand with high grit sandpaper in between coats of poly).
- After the stain and poly had dried, I flipped the door over and caulked all of the seams of the dow to weather-proof it 0nce more and then painted the interior side to match the trim paint. I used two coats of semi-gloss paint from Sherwin Williams.
- After it was cut, stained, and painted, I removed the original door and installed the new door in place to make sure everything fit exactly as it should. Of course, it didn’t and I had to make adjustments to it 2-3 times before it fit perfectly in place.
- Once the door was able to open and close easily, I installed the hardware and the knocker and voila we were done…with the door at least!
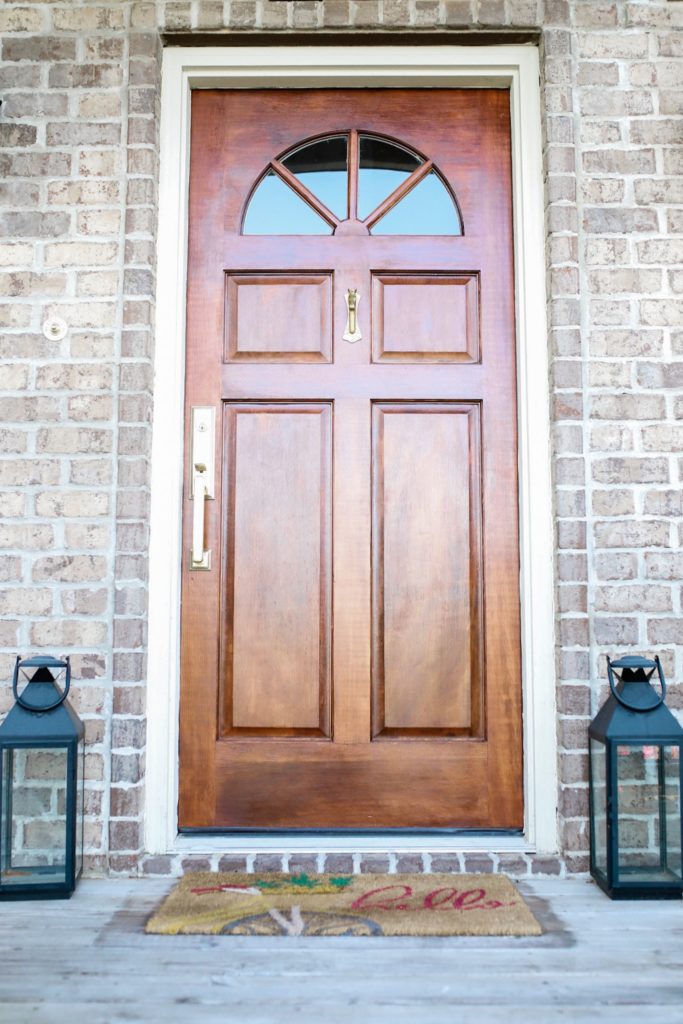
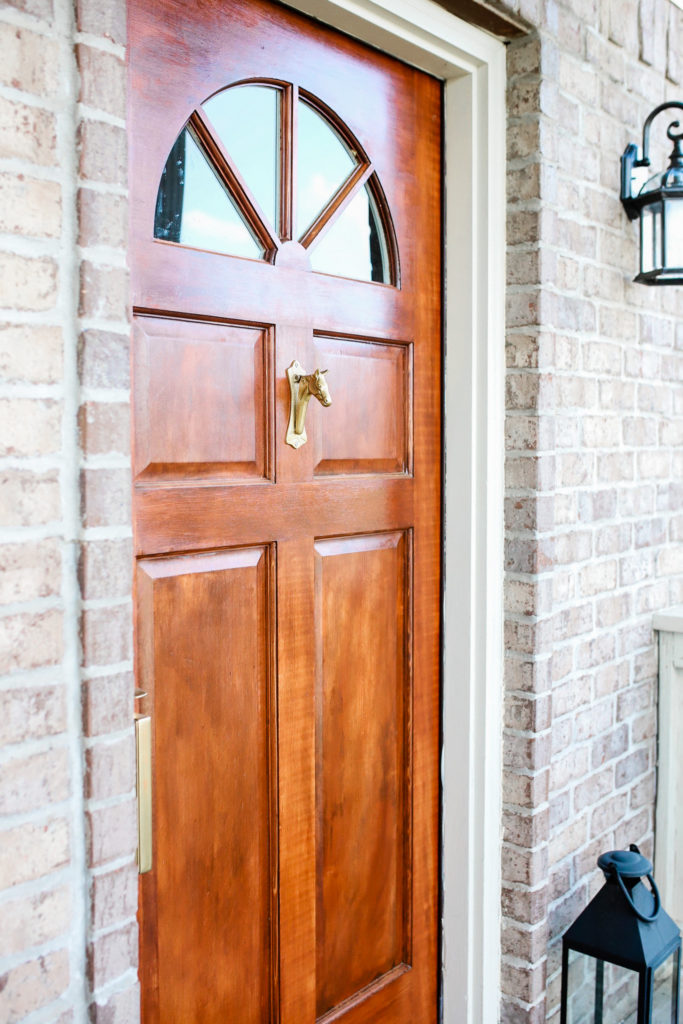
The whole process took one and a half days from start to finish. This is a perfect weekend project and completely changes the aesthetic of our front porch. Next project is to layer a small rug and welcome mat and add a brass kickplate to the door.


Leave a Reply