
Hey ladies! Jared here. Angela and I have been getting a ton of questions about our kitchen renovations and updates so we thought we would share a few here on the blog over the next few months as we begin to settle into our new house.
Much of Ang and I’s relationship doesn’t conform to cultural gender norms and this topic of interior design is no different. It’s actually something I really enjoy, so when we bought our house in October I instantly began a list of to-dos and projects we could work on. The first project was painting our hideous kitchen cabinets. WARNING: this is not a project for those who are busy or are short tempered.
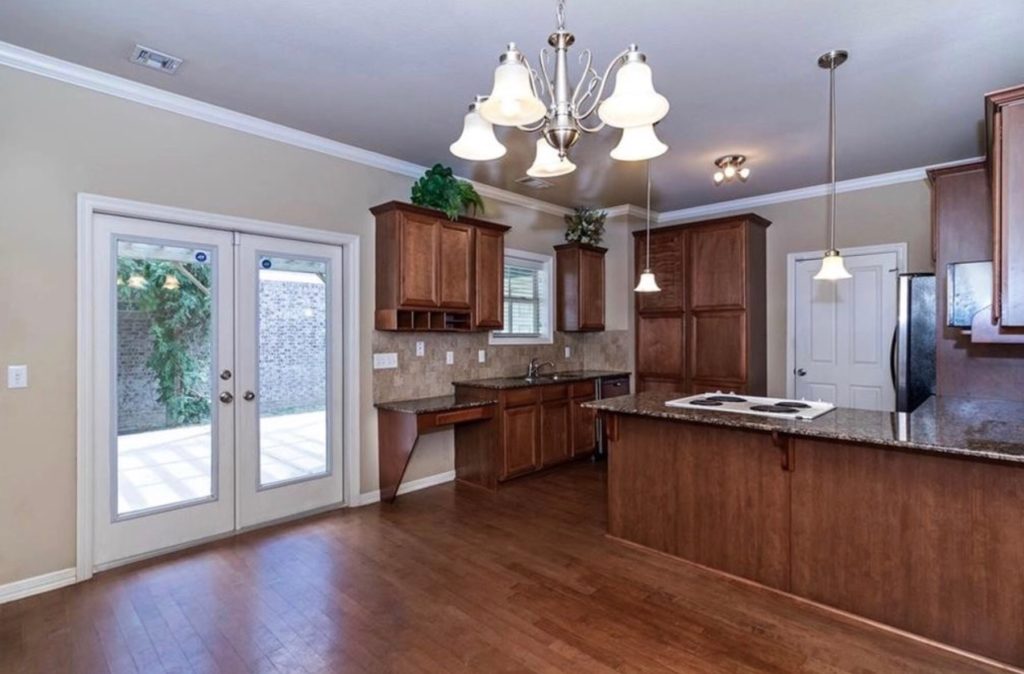
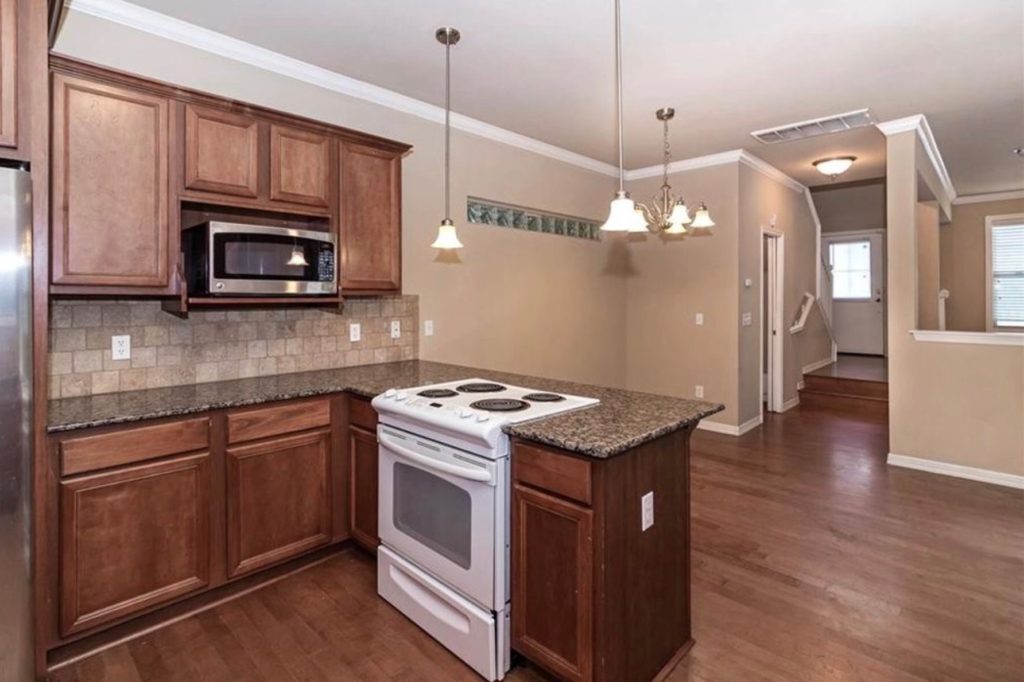
I have always loved the look of bright, clean white cabinets. Our dark and dated cabinets made the kitchen feel like a dark cave in the back of the house. I took to Pinterest (check out my Pinterest here) and Google to do research on what the process of painting cabinets looked like and tools and necessities were needed.
Here are a few of the articles and posts we used during the process.
How To Paint Your Cabinets (Professionally)
10 Tips for Painting Kitchen Cabinets
How To Paint Kitchen Cabinets So They Last
As mentioned earlier I wanted white cabinets and found a few options on Pinterest that would coordinate with our off-white (almost cream) trim. Side note: who knew there were so many different colors of white? My favorite color sample I found was Benjamin Moore White Dove, but we don’t have a Benjamin Moore dealer in our immediate area so we went with our second pick, Sherwin Williams Alabaster. I’m actually really happy with our color choice, I think it complements everything so well and I have many more projects using the same color.
As far as the process goes, I attempted to use a liquid sander that was listed in several of the how-to articles but found it was simply just easier (but messier) to use a power sander. We painted three coats of Zinsser 1-2-3 primer and three coats of oil based Sherwin Williams paint on both the doors and the bases. Another side note: For those using oil-based paints, no clear coat or sealant is needed. If you decide to use a water based paint, it is recommended that you add another 1 to 2 coats of a sealant.
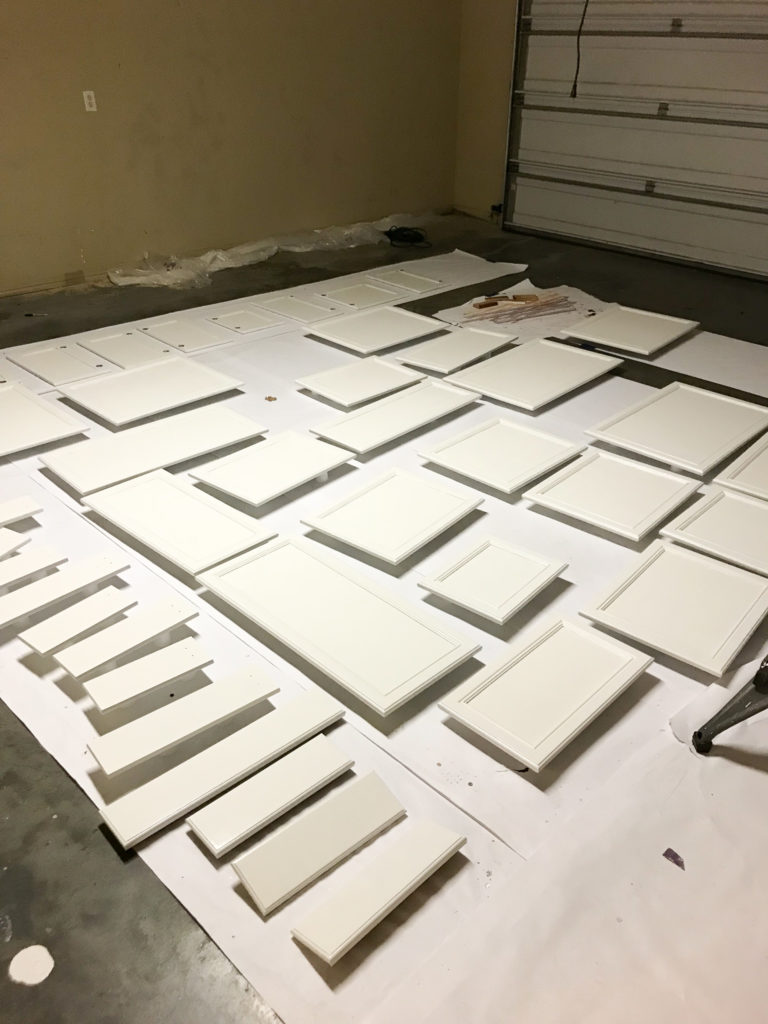
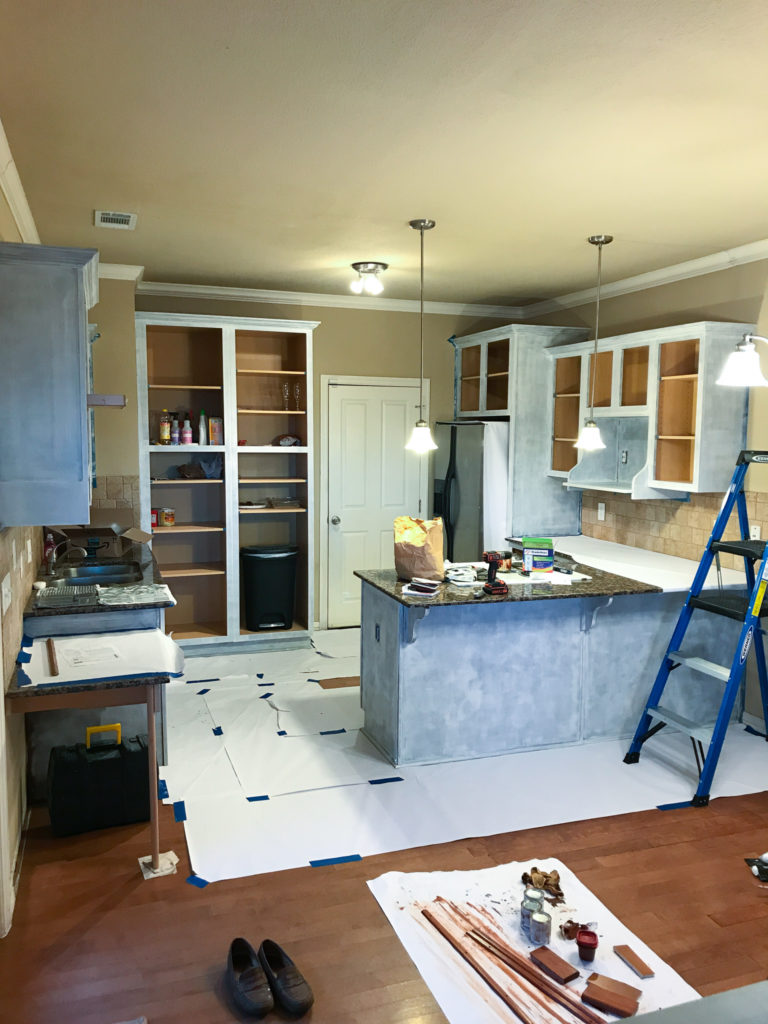

For our hardware, we cleaned and reused the hidden hinges and added some soft close adapters. As for the handles, I wanted something that looked clean and timeless so I choose these round end handles with detailed posts (Style K) that I thought added some small character where needed.
Overall the process took us just over a week with us sanding, painting, sanding, painting, sanding and painting all weekend and after work every day. Angela wasn’t enthusiastic about the project from the beginning, but I think she will be the first to tell you that it was totally worth it! It’s crazy what a little paint and some hardware can do.
Before
After
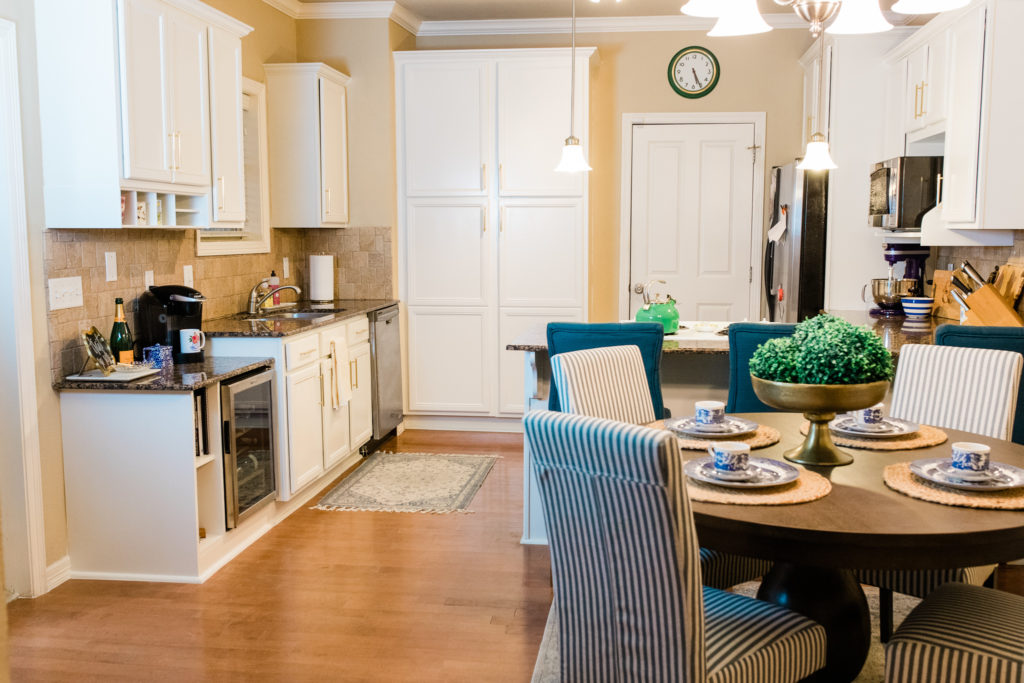
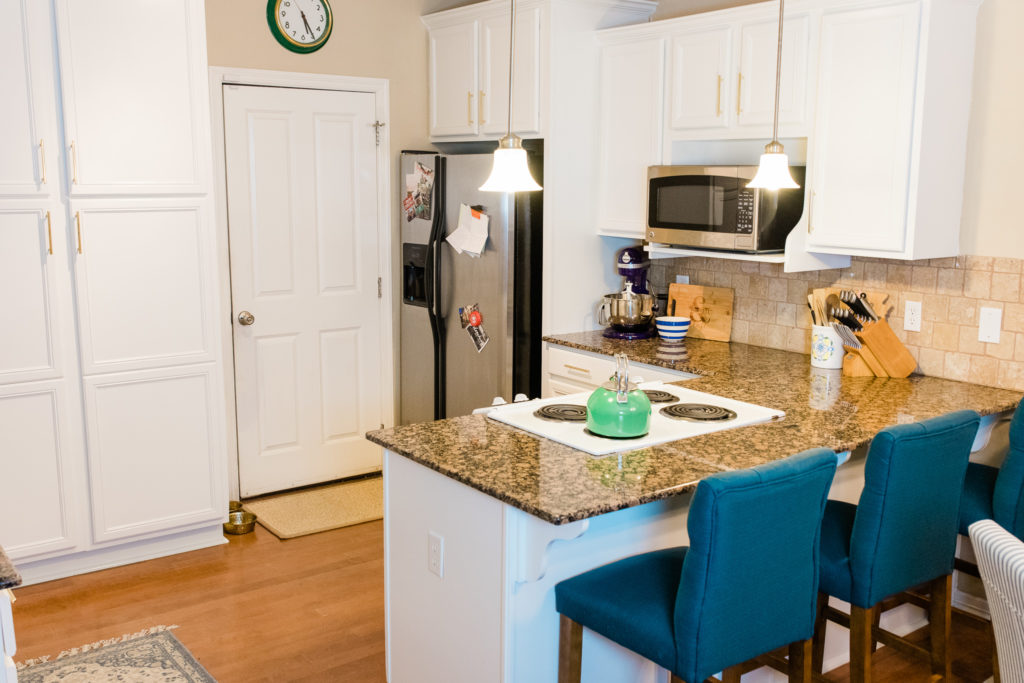
On the next home post, I will talk about my decision to take out the strange counter/desk situation and surprise Angela with a wine fridge and shelving unit in its place.
Some of our next updates are getting new light fixtures, changing our faucet, and switching out blinds. Let us know what else you would like to see and what ideas you have for us!

Do you know what you have to do to paint orange oak wood style laminate cabinets? I put 3 coats of Zinsser Bullseye 123 Primer Plus and could still take my finger and scratch the paint to the laminate.
Totally discouraging. Thanks for any help.