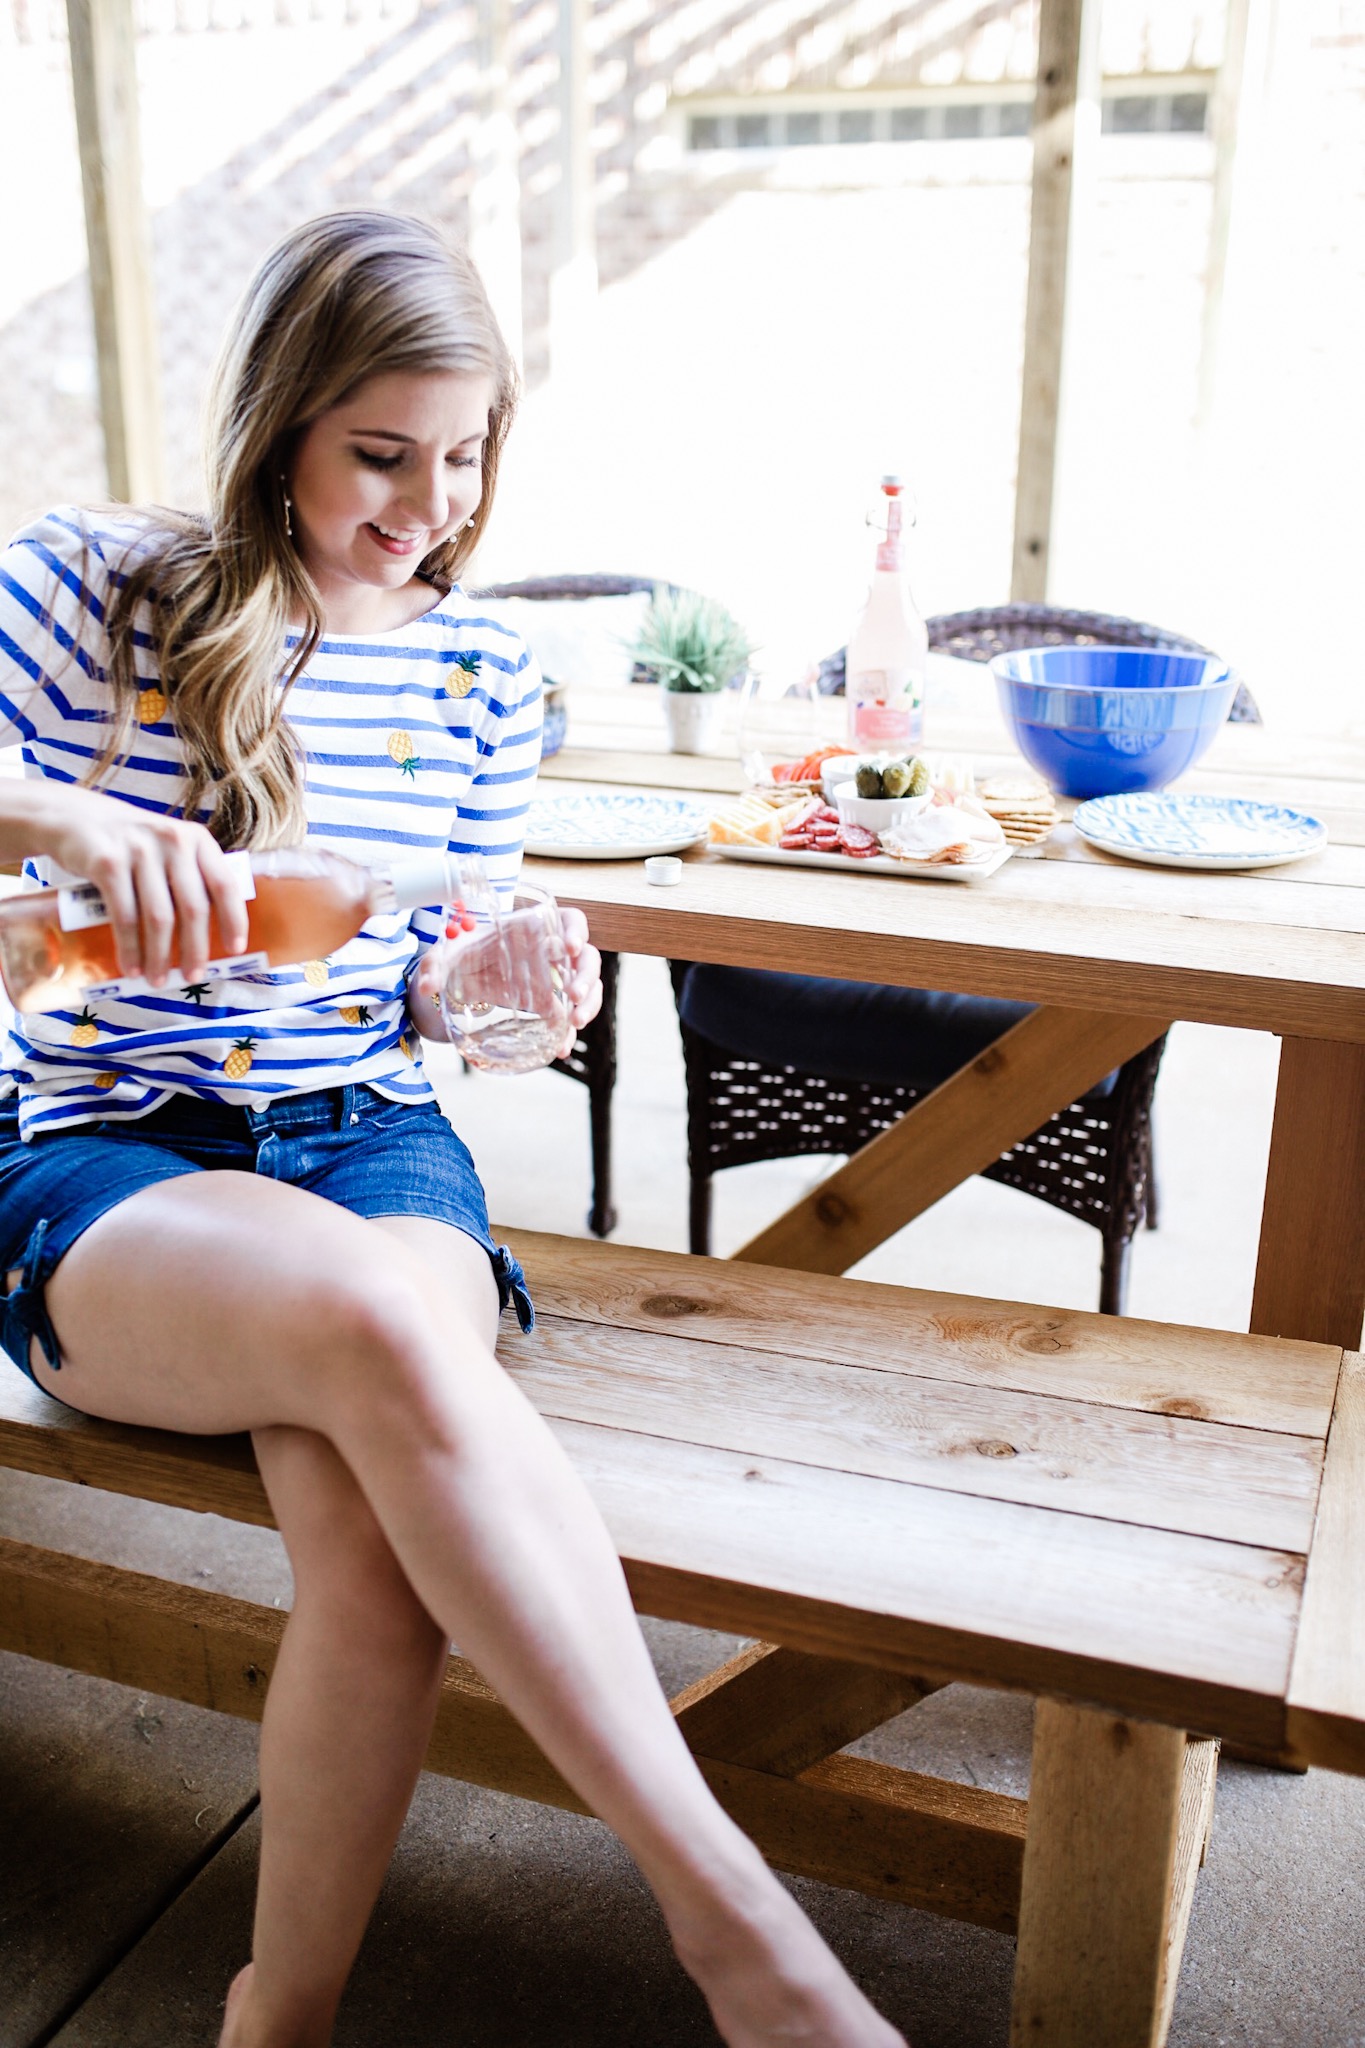
One of Angela and I’s favorite part about our house is our backyard, patio, and our DIY Outdoor Dining Table. A pergola or outdoor space was crucial for me when we were looking at houses.
I have always been an outdoorsy person. Whether it was skipping dinner to play outside with my friends as a kid or playing golf as much as I can now, I can’t get enough of the outdoors. So when we bought our house in the winter, I began planning what our Spring and Summer projects would be. First up, our outdoor table.
I had looked at different tables to buy or build all over Pinterest and fell in love with this one from Restoration Hardware, but I couldn’t imagine paying over $3000 for a table that would get rained on and beat up by the weather.
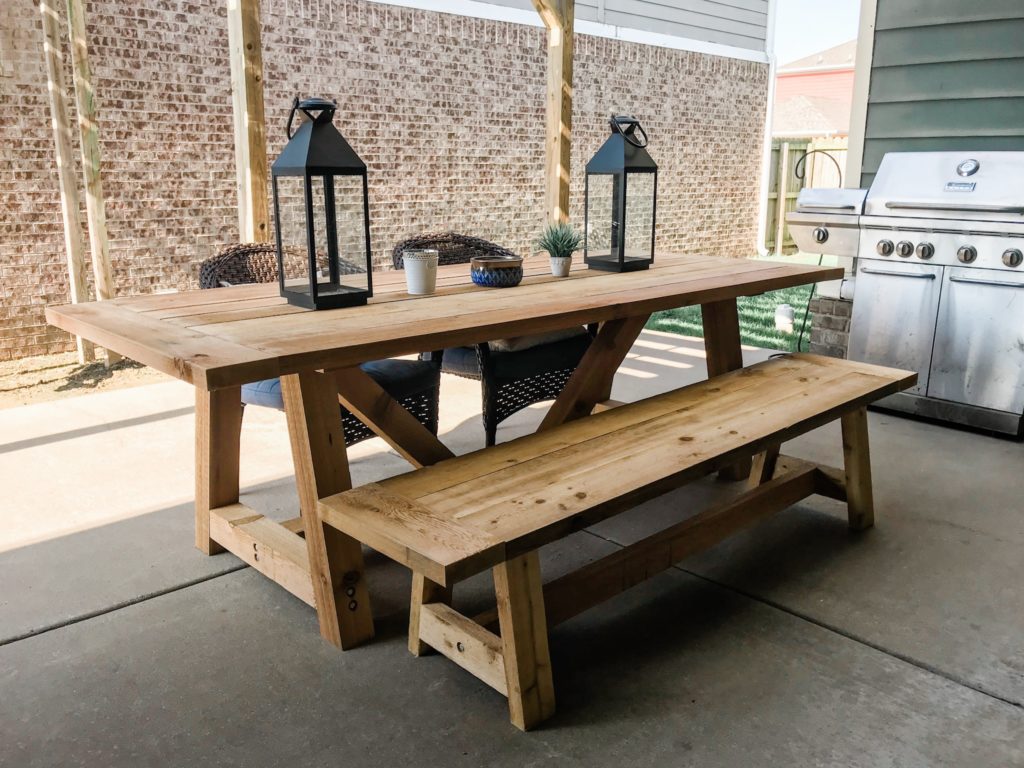
DIY Outdoor Dining Table
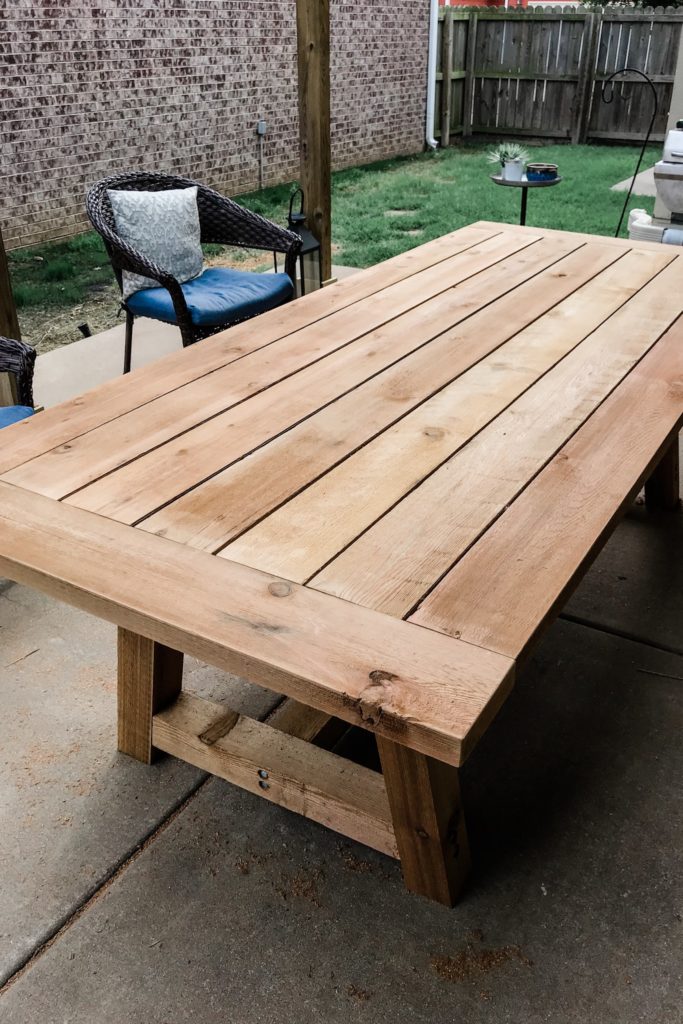
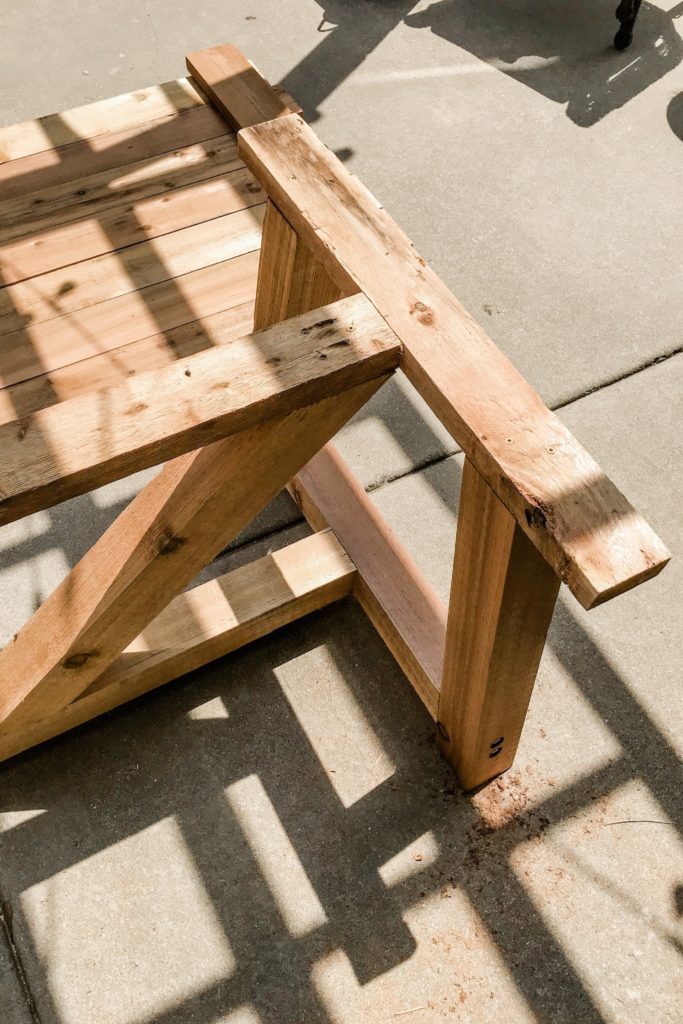
I kept looking when I stumbled upon this link on Pinterest and immediately started planning the project. It is such a great and in-depth guide giving you the lengths and sizes of lumber you’ll need as well as exact measurements and angles. Our space is a little too small for a 10-foot table so instead, I shortened the design to 8 feet and added the breadboard ends to match the original table. We spaced the top planks 1/4″ as directed because it is an outdoor table and will allow for rain to fall through.
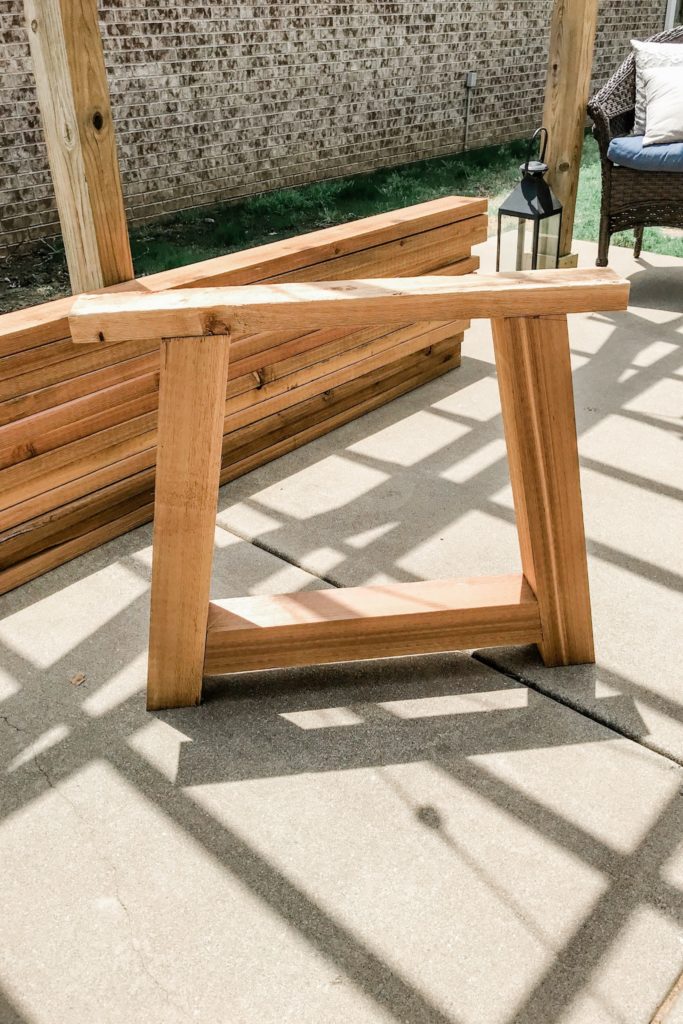
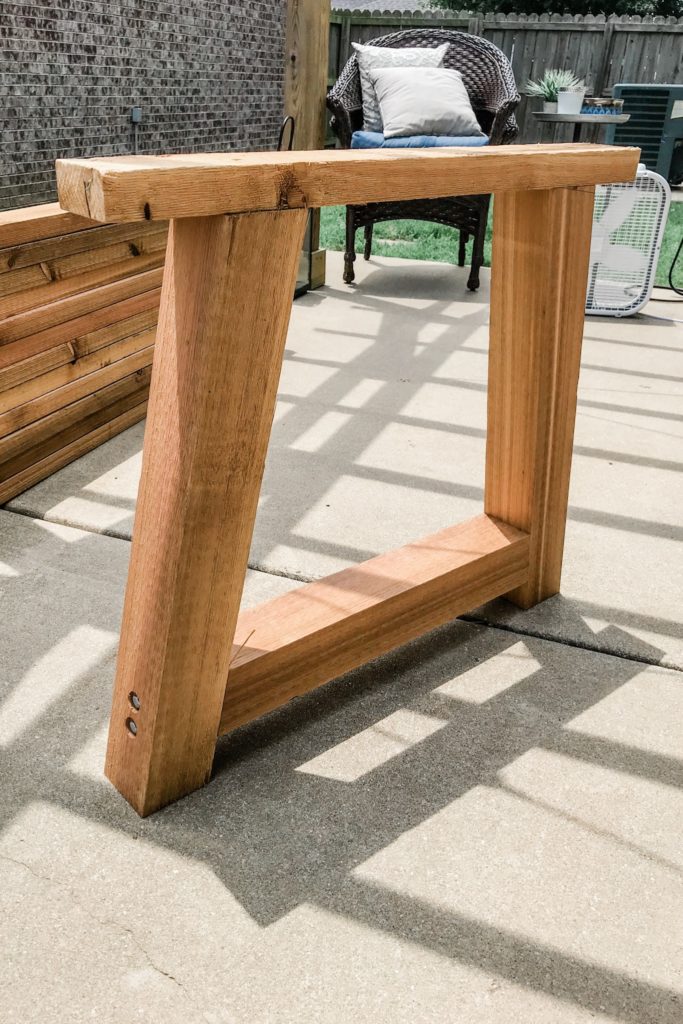
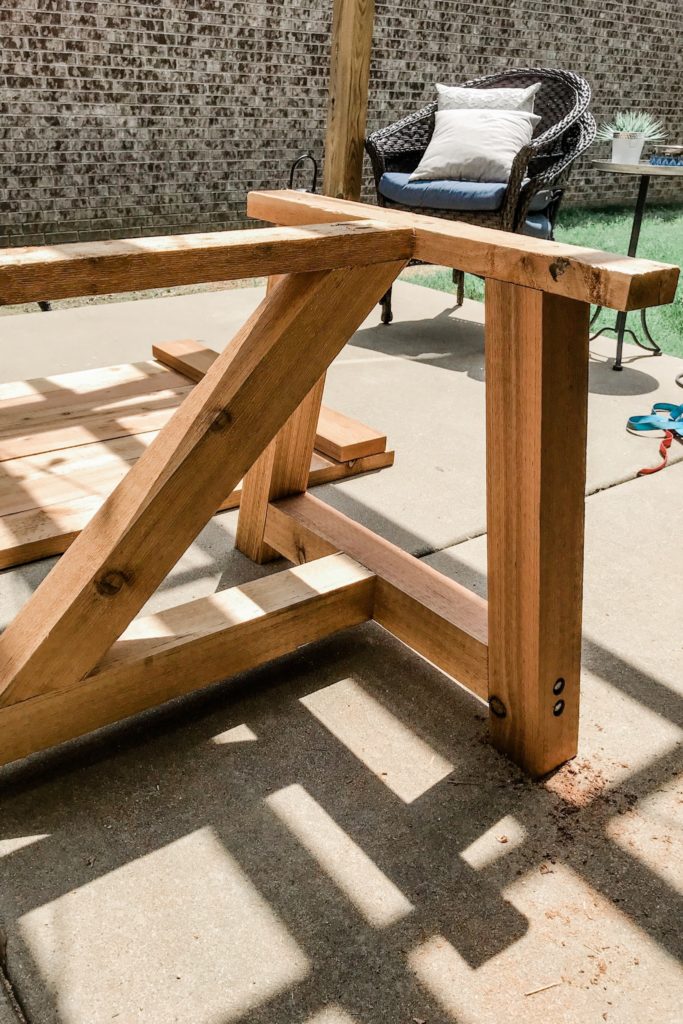
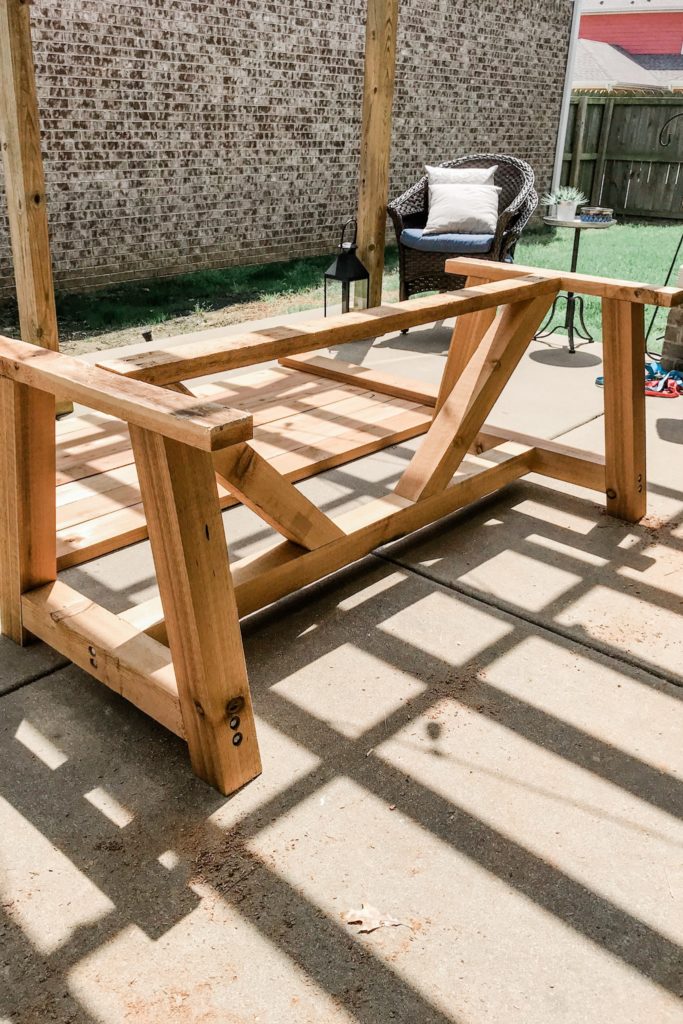
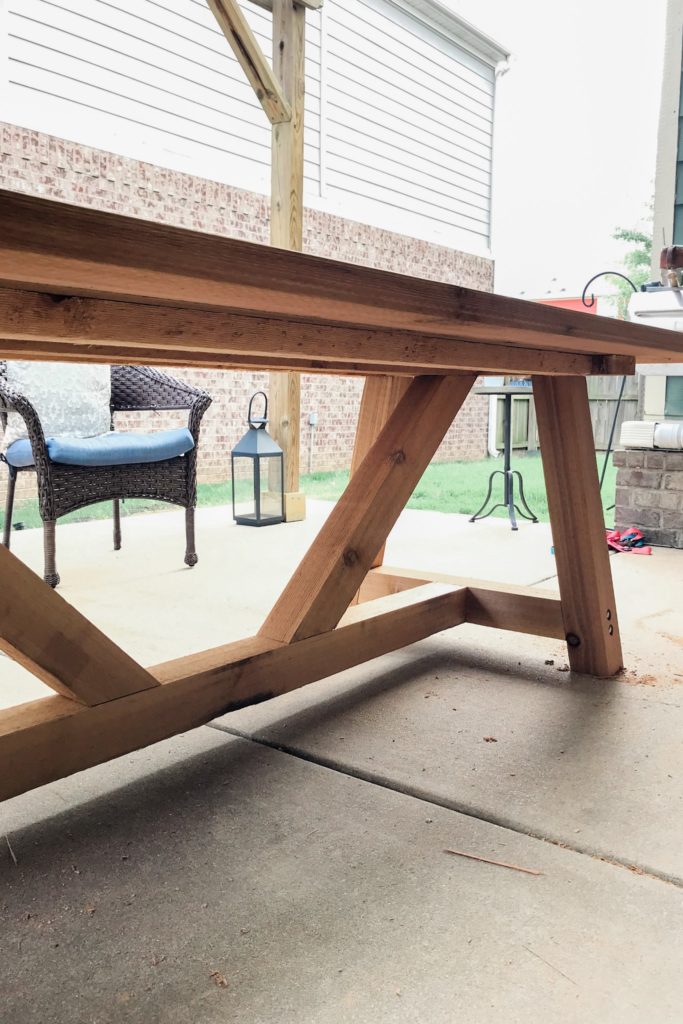
Angela wanted a matching bench for guests and luckily there was a guide on how to build that as well.
All-in-all the table and bench took my dad and I roughly 7-8 hours to build. I built both the table and bench out of cedar (it was on sale at Lowes for 30% off at the time of purchase) because I wanted to last in the elements and it cost us a little over $500 (less than 1/6 the cost of the RH table!), but you could easily build it out of less expensive lumber depending on your desired purpose.

Hi Jared – great looking table. I snagged the plan but it looks like you modified it by adding a perpendicular cap at the end of the surface planks. How did you secure it? Dowels? Support below? Suggestions based on what you did appreciated. Thanks,
John
Thanks for the comment! I secured the ends by using a Kreg pocket hole jig (2 per 2×6) and wood glue. After a year of use, the ends have started to slightly sag because of the underscores mount. I think I will add a few lag bolts on the end in the future just to sure up the breadboards and hopefully level them back out.
So does the base attach to the breadboard or to the longer pieces? Thank you
The longer pieces. The underlying structure is shorter than the table top
I am also curious about the bread board ends. How did you secure them? We want those ends but it seems hard to do without the right tools.
Megan, please see my response to John. Enjoy the table! We have gotten plenty of use out of it.
Do you happen to have a materials list? I noticed the wood looks like a slightly different size than the plans you have referenced. Thanks!
Heres the link I used. I made a few tweaks for our design.
http://www.thedesignconfidential.com/2011/04/free-diy-furniture-plans-to-build-a-restoration-hardware-inspired-provence-beam-dining-with-4x4s/
Hi Jared and Angela! I love the rustic rough sawn cedar look! I was wondering how you ended up finishing it? Did you use oil or anything protective? How has the color/wood held up over time?
I used a Thompson’s water seal clear finish after letting it dry and age over a year. I’m not too happy with the result as it discolored the table and would probably opt for a different product in hindsight.
Do you have a lumber list? Very cool table
If you click on the this link in the paragraph DIY Table it takes you to plan, list of material and tools you will need.
I certainly don’t see what your talking about don’t see any link
Here is a link to the design
http://www.thedesignconfidential.com/2011/04/free-diy-furniture-plans-to-build-a-restoration-hardware-inspired-provence-beam-dining-with-4x4s/
Hi Really like the table, is it possible to get the site with plans, sizes for it ? Thank you John
Capemaycrab@comcast,net
http://www.thedesignconfidential.com/2011/04/free-diy-furniture-plans-to-build-a-restoration-hardware-inspired-provence-beam-dining-with-4x4s/
So how do I get plansick and materials list
http://www.thedesignconfidential.com/2011/04/free-diy-furniture-plans-to-build-a-restoration-hardware-inspired-provence-beam-dining-with-4x4s/
Hi!
We noticed that the table top boards are much smaller than the ones listed in the link. What size did you use? The link shows 4 2x10s and yours has 6 boards.
We used 6 – 2x6s for the tabletop and 2 – 2x6s for the breadboards that weren’t in the original design.
Hi Jared. First off, beautiful table. I was just clicking the links from previous comments and unfortunately they directed me to a broken page. Can you please provide a link to the plans and supplies list.
Hi where can I find the measurements and instructions please
Thanks for the post. It is a beautiful table. I would like to modify the plan to have a table about 6 or 8 inches wider by using some narrow strips between the wide boards. I would also ajust the supports to accommodate the wider design. Is there any reason you can see why that would not work?
Not sure if you already built the table, but having just finished it myself yesterday, that should work – you would need to make the table ends wider (which really consist of just the bottom and top pieces of the ‘A’-frame. You would also need some additional 2x4s to support it.
Hi, lovely table. Is is possible to see how you attached the breadboard ends? Its a nice feature that really finishes it off.
Thanks
Hi! Love the table. We are currently in the middle of making it. Do you have the plans/dimensions for the bench?
Thanks!
just wondering how this has held up. i just found this project, which i made for my daughter last year, and no matter how ive changed the plans for the top, (redone top 3 times now) the end boards have buckled. first one secured with pocket screws, don’t allow for wood movement. has yours twisted, buckled or completely blew up at change of season?
Hi there! We haven’t experienced this problem! We’ve also moved it three times and it’s still very secure. I also think it’s important to note that we live in South Texas and we don’t see many seasons change!
You did such a great job! Looks beautiful 🙂
Hi, for the table top, did you use 2×8?
Hi! Love this table! The link you share to the plan is broken; doesn’t exist anymore. Is there any chance you have it from when you built this and could send or post?