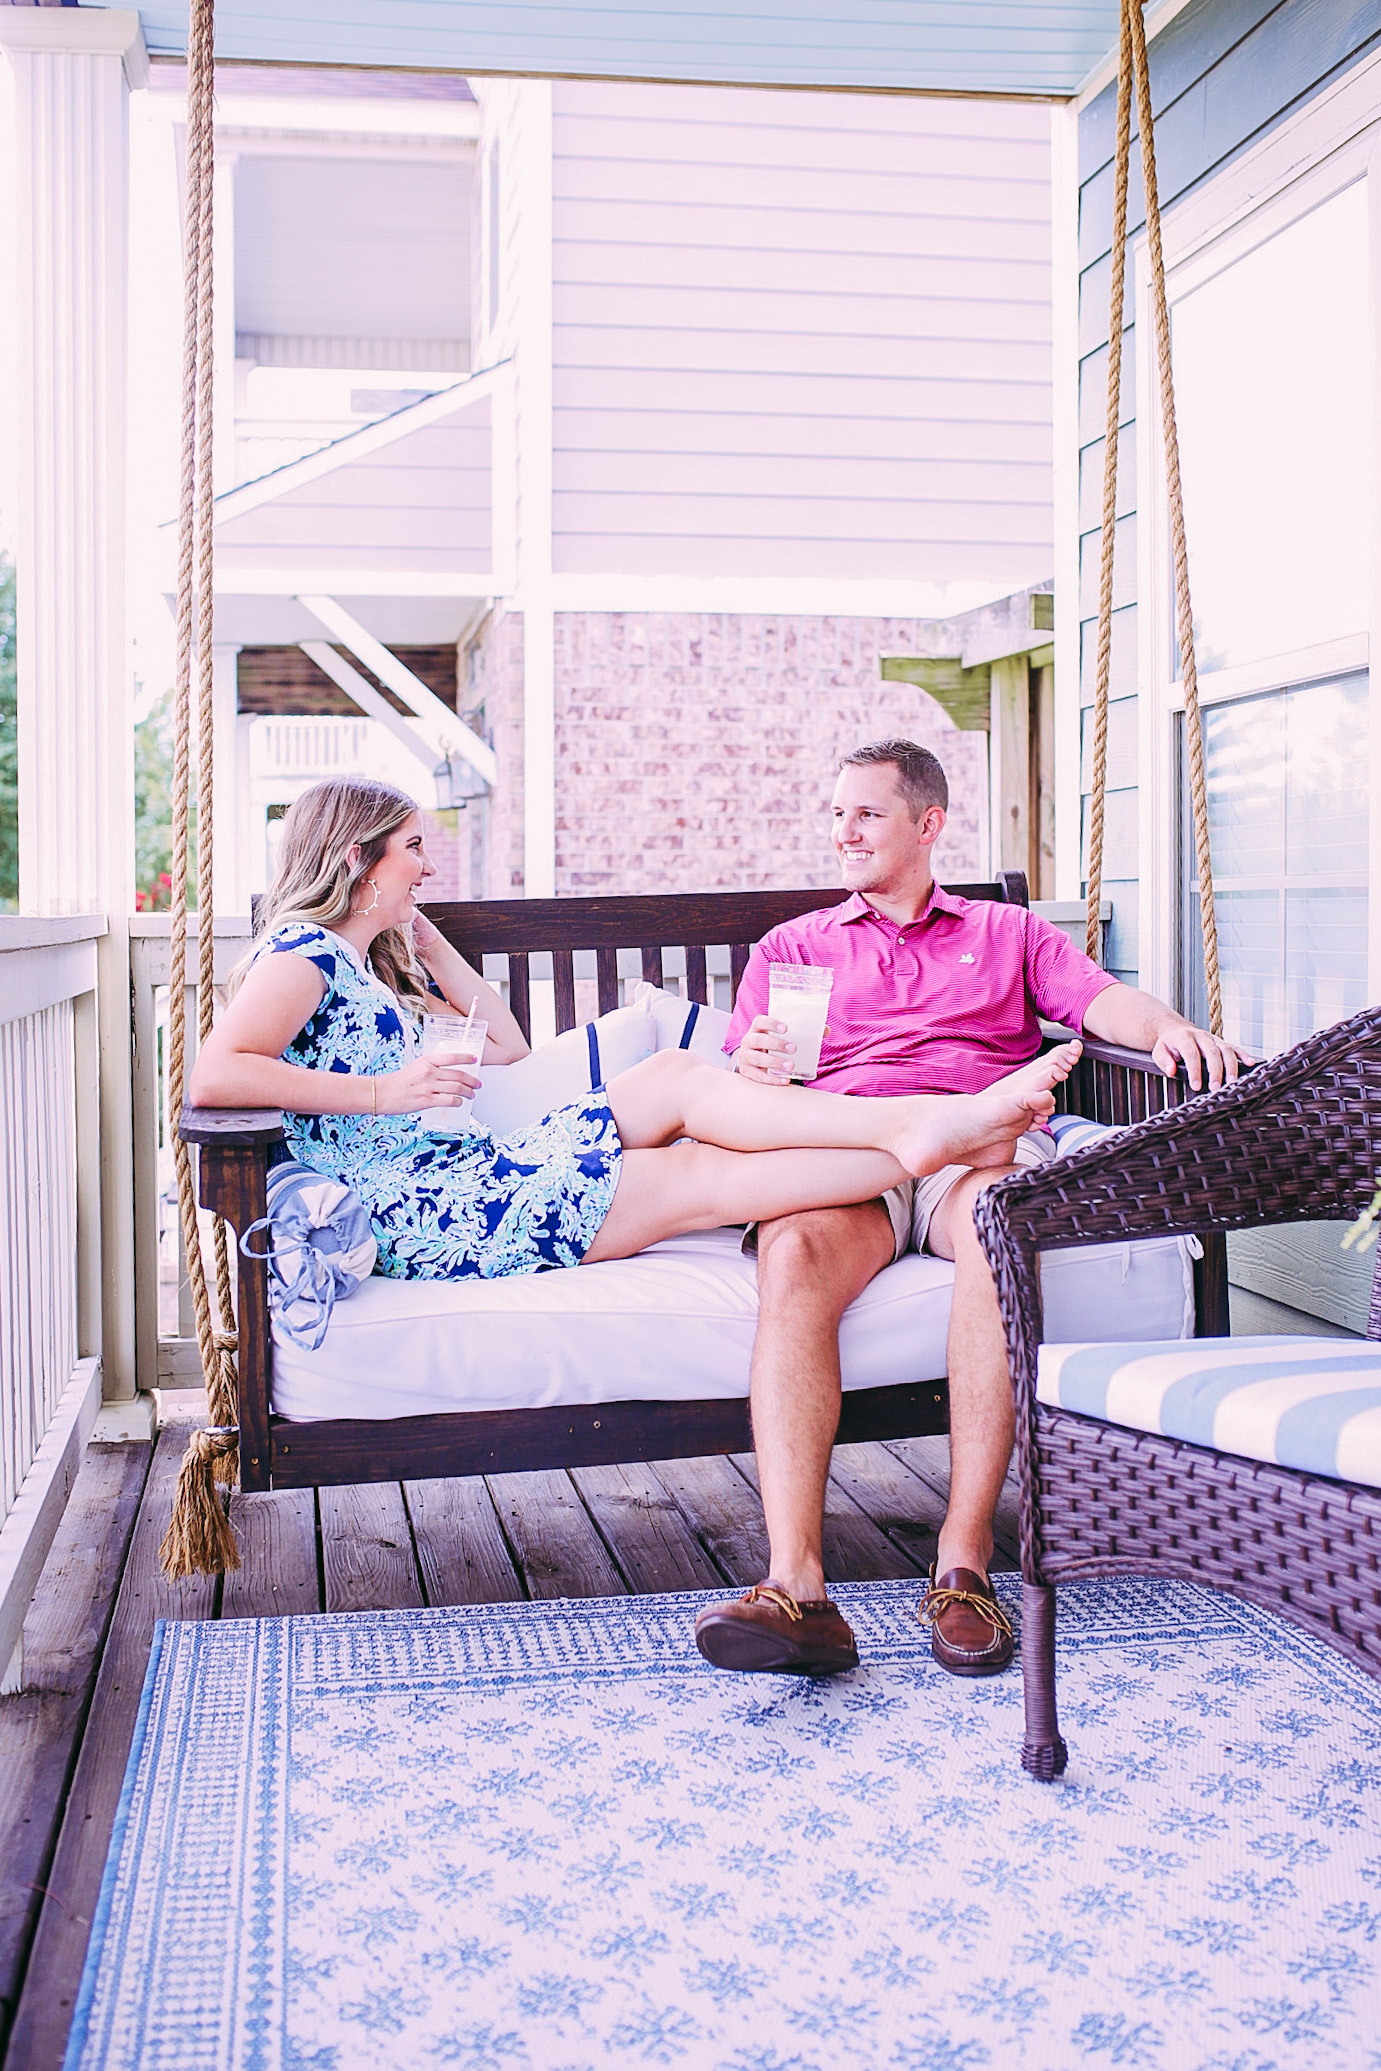
Hey, ladies (and gents)! Jared here. Today we are going to be talking about one of the most anticipated posts of the year so far, the front porch swing, and how we made our DIY crib mattress front porch swing.
This post won’t include a lot of technical details, rather just the process I went through and the pictures I took during the build of our porch swing.
DIY CRIB MATTRESS FRONT PORCH SWING
FIND INSPIRATION
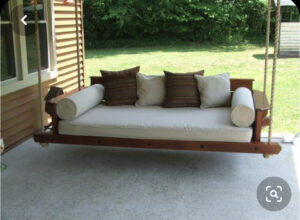
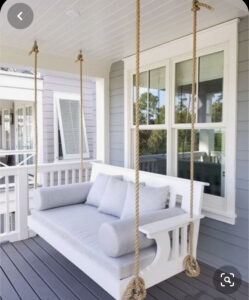
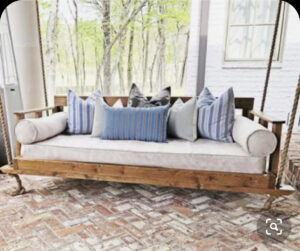
First, I scoured Pinterest (here’s my Pinterest board) for ideas and inspiration. Here are a few of the ideas that I used for our front porch and for the swing specifically.
DESIGN YOUR BUILD
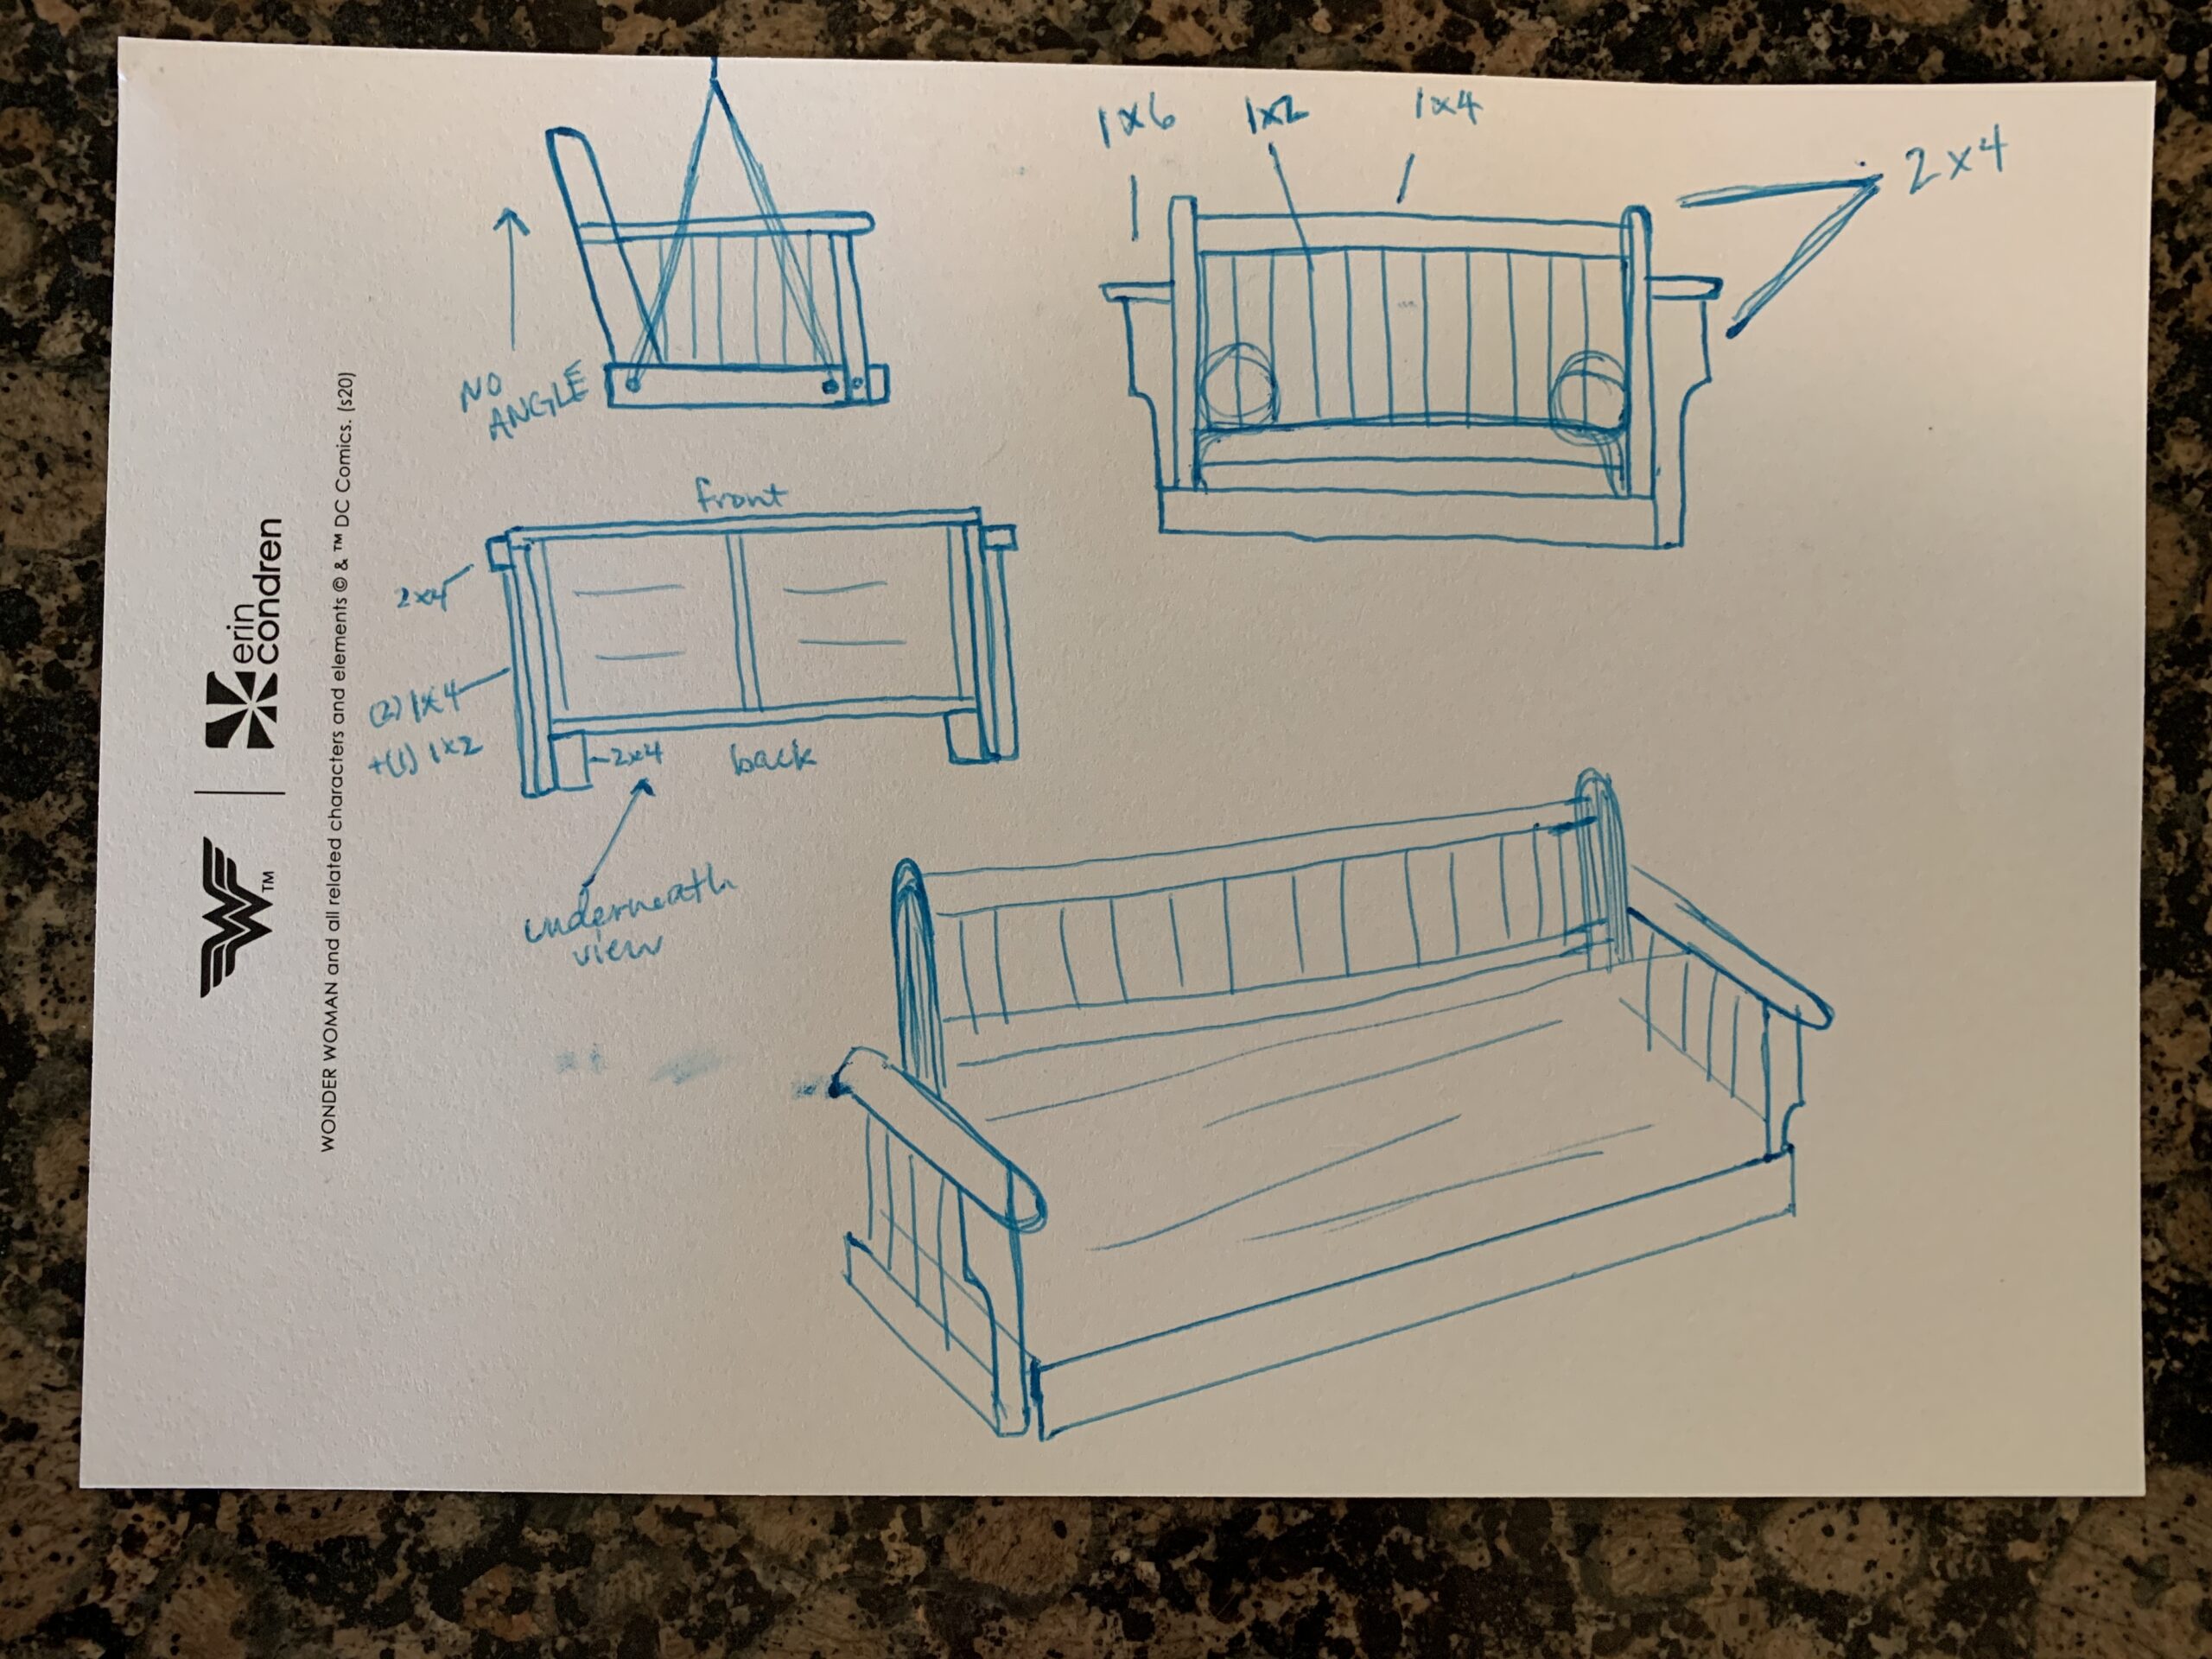
Second, I made a rough sketch of the design and ran to Lowes to grab the necessary lumber, screws, bolts, and stains. I ended up going with exterior lumber in multiple sizes.
MATERIALS LIST
- 2×4 – Seat and Frame and front handrail support
- 2×2 – Seat supports and back handrail support
- 1×2 – Spindles
- 1×4 – Top and bottom of the seatback
- 1×6 – Seat and handrail
- Screws: 2” & 3” exterior screws (link)
- Kreg pocket hole jig – Mini (link) & Big (link)
- Kreg 3/4” pocket hole screws (you can use dowels or pocket holes depending on what tools you have) (link)
- Wood Glue (link)
- 3/4” Rope (length will depend on your ceiling or support height) – I bought 50 feet and used about 35-40 feet. (link)
- (4) 1” Eyebolts (link) and (2) 1” Eye screws (link) for the anchors
- Stain or paint of your choice – We chose Minwax Dark Walnut (link)
- Paintbrush, rag, or old t-shirt to apply paint/stain
BEGIN CUTTING AND PLANNING
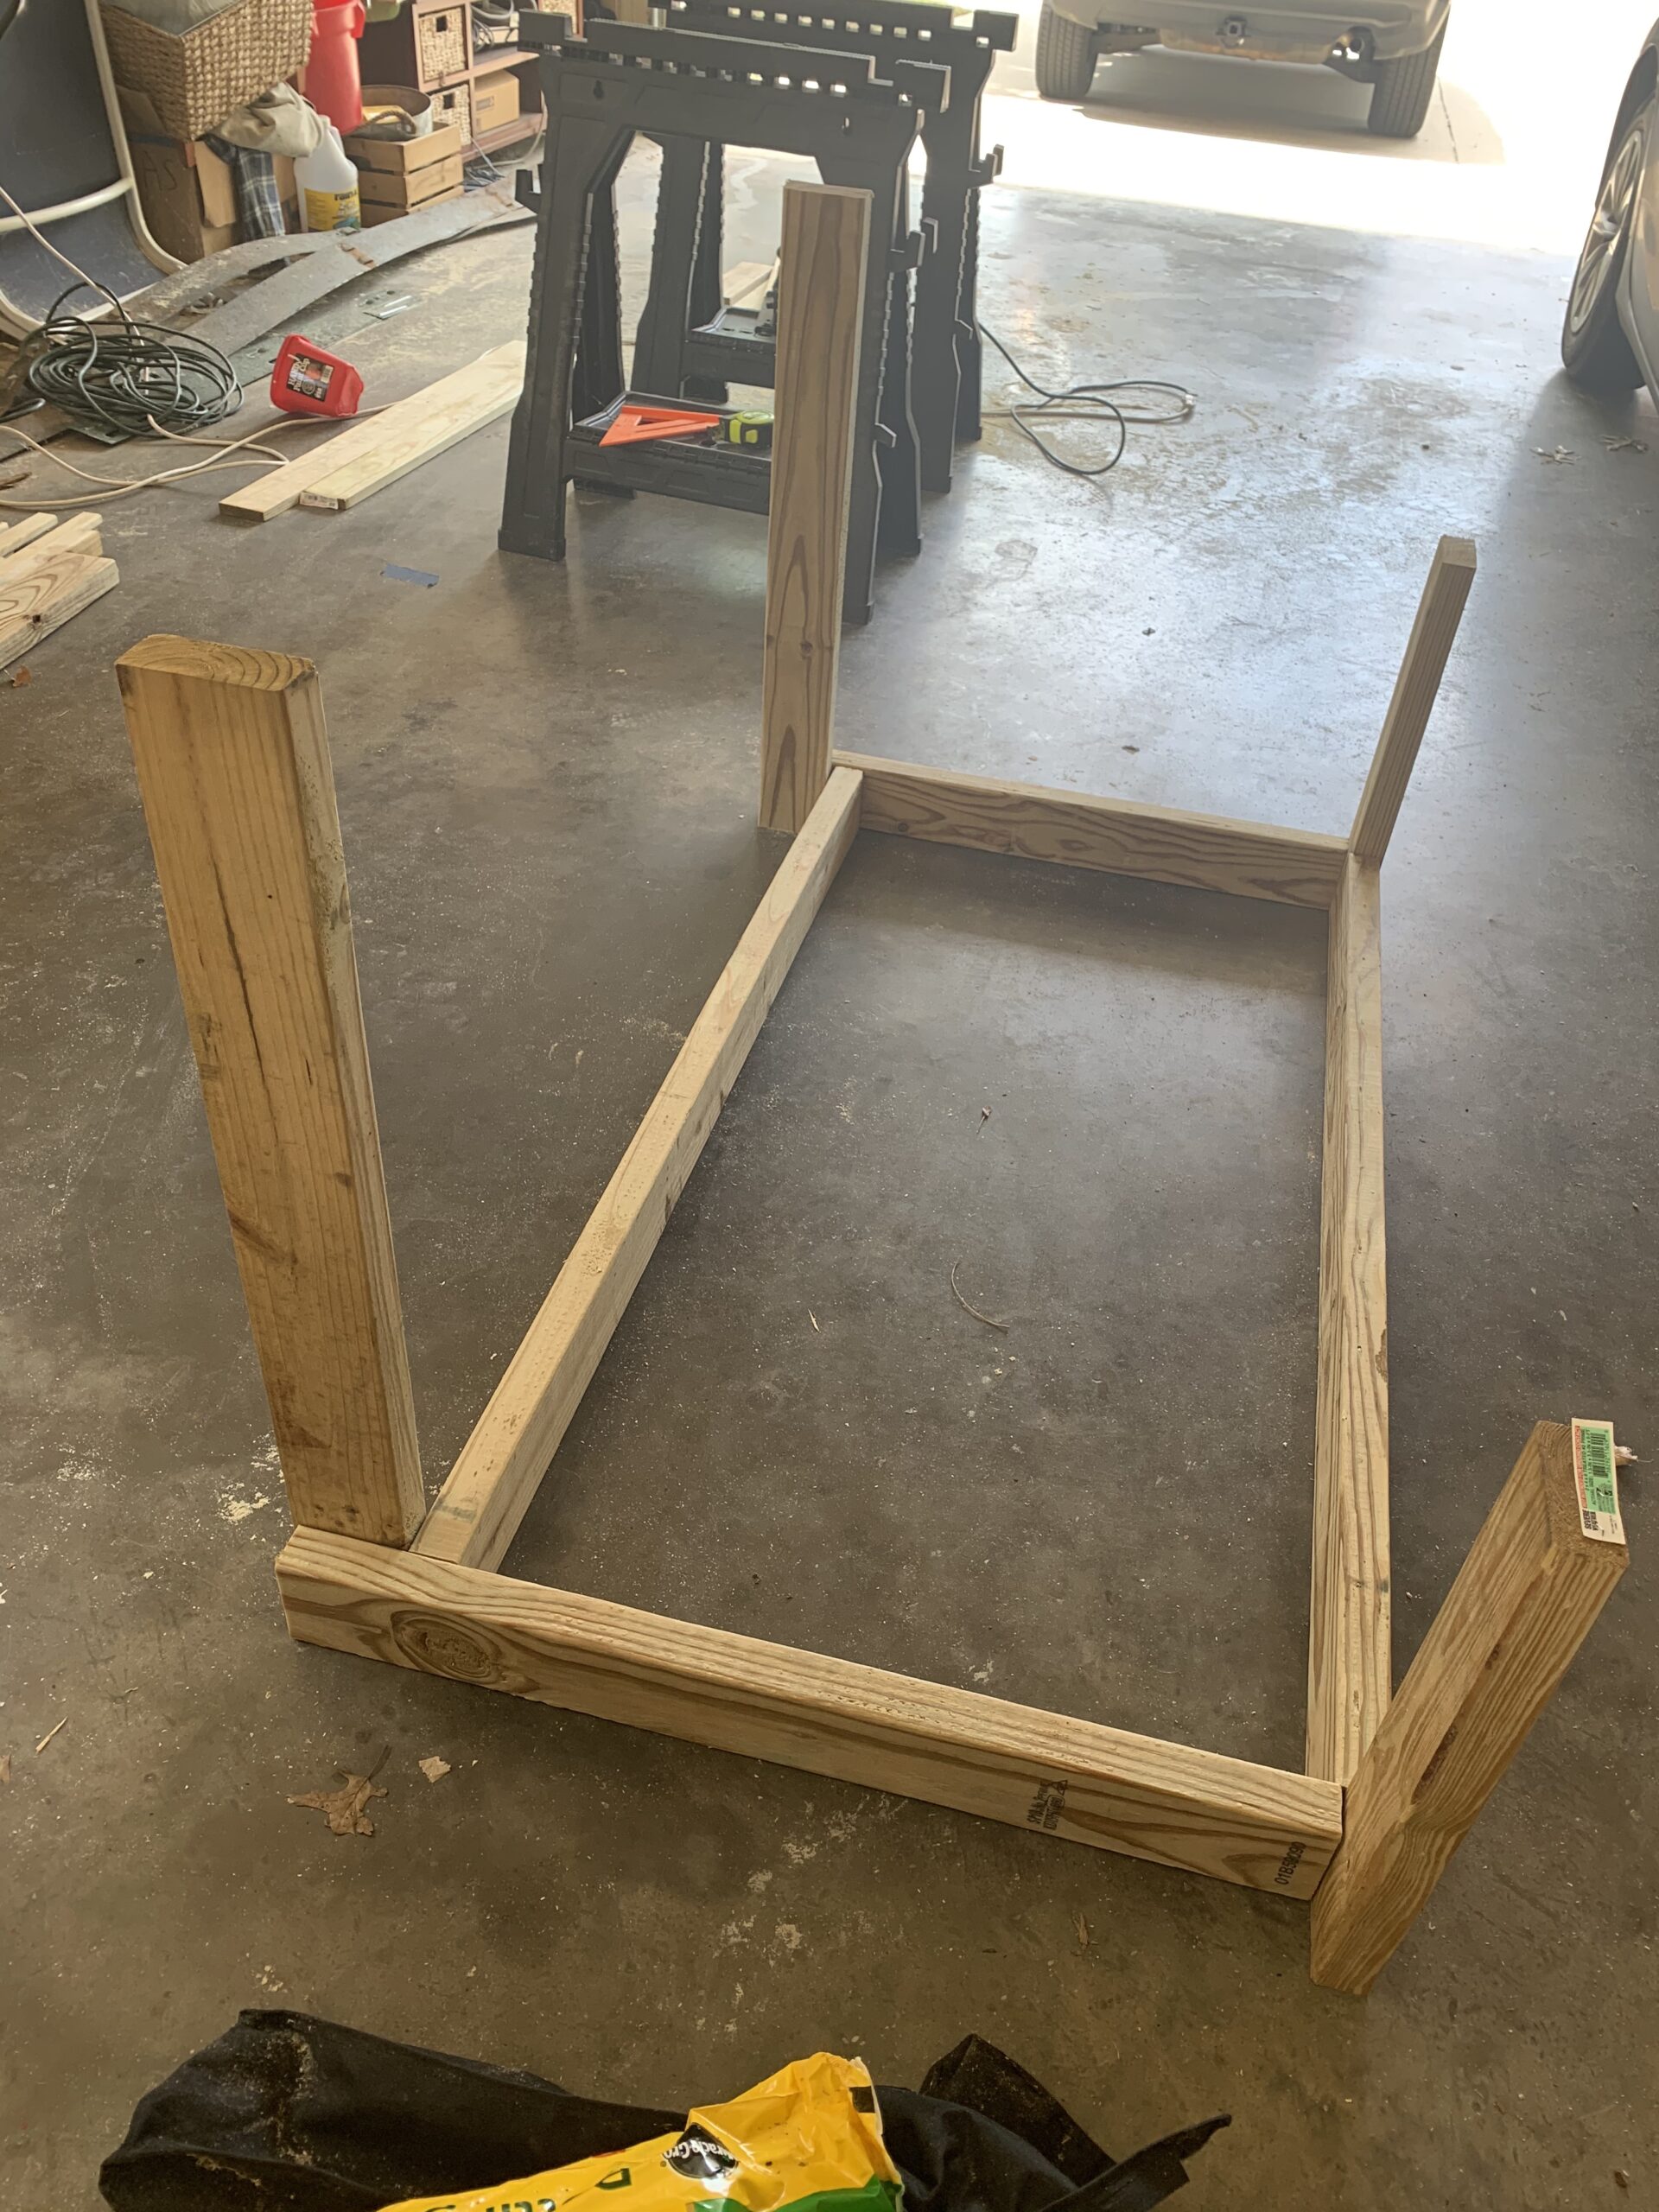
Third, I cut my lumber to size and began laying out the frame of the swing to see how I need to mount it best. I usually just design a rough sketch and plan as I go. This ended up working out in my favor, but I don’t have super detailed notes and sketches of the design. I made the swing large enough to accommodate a crib mattress for our seat.
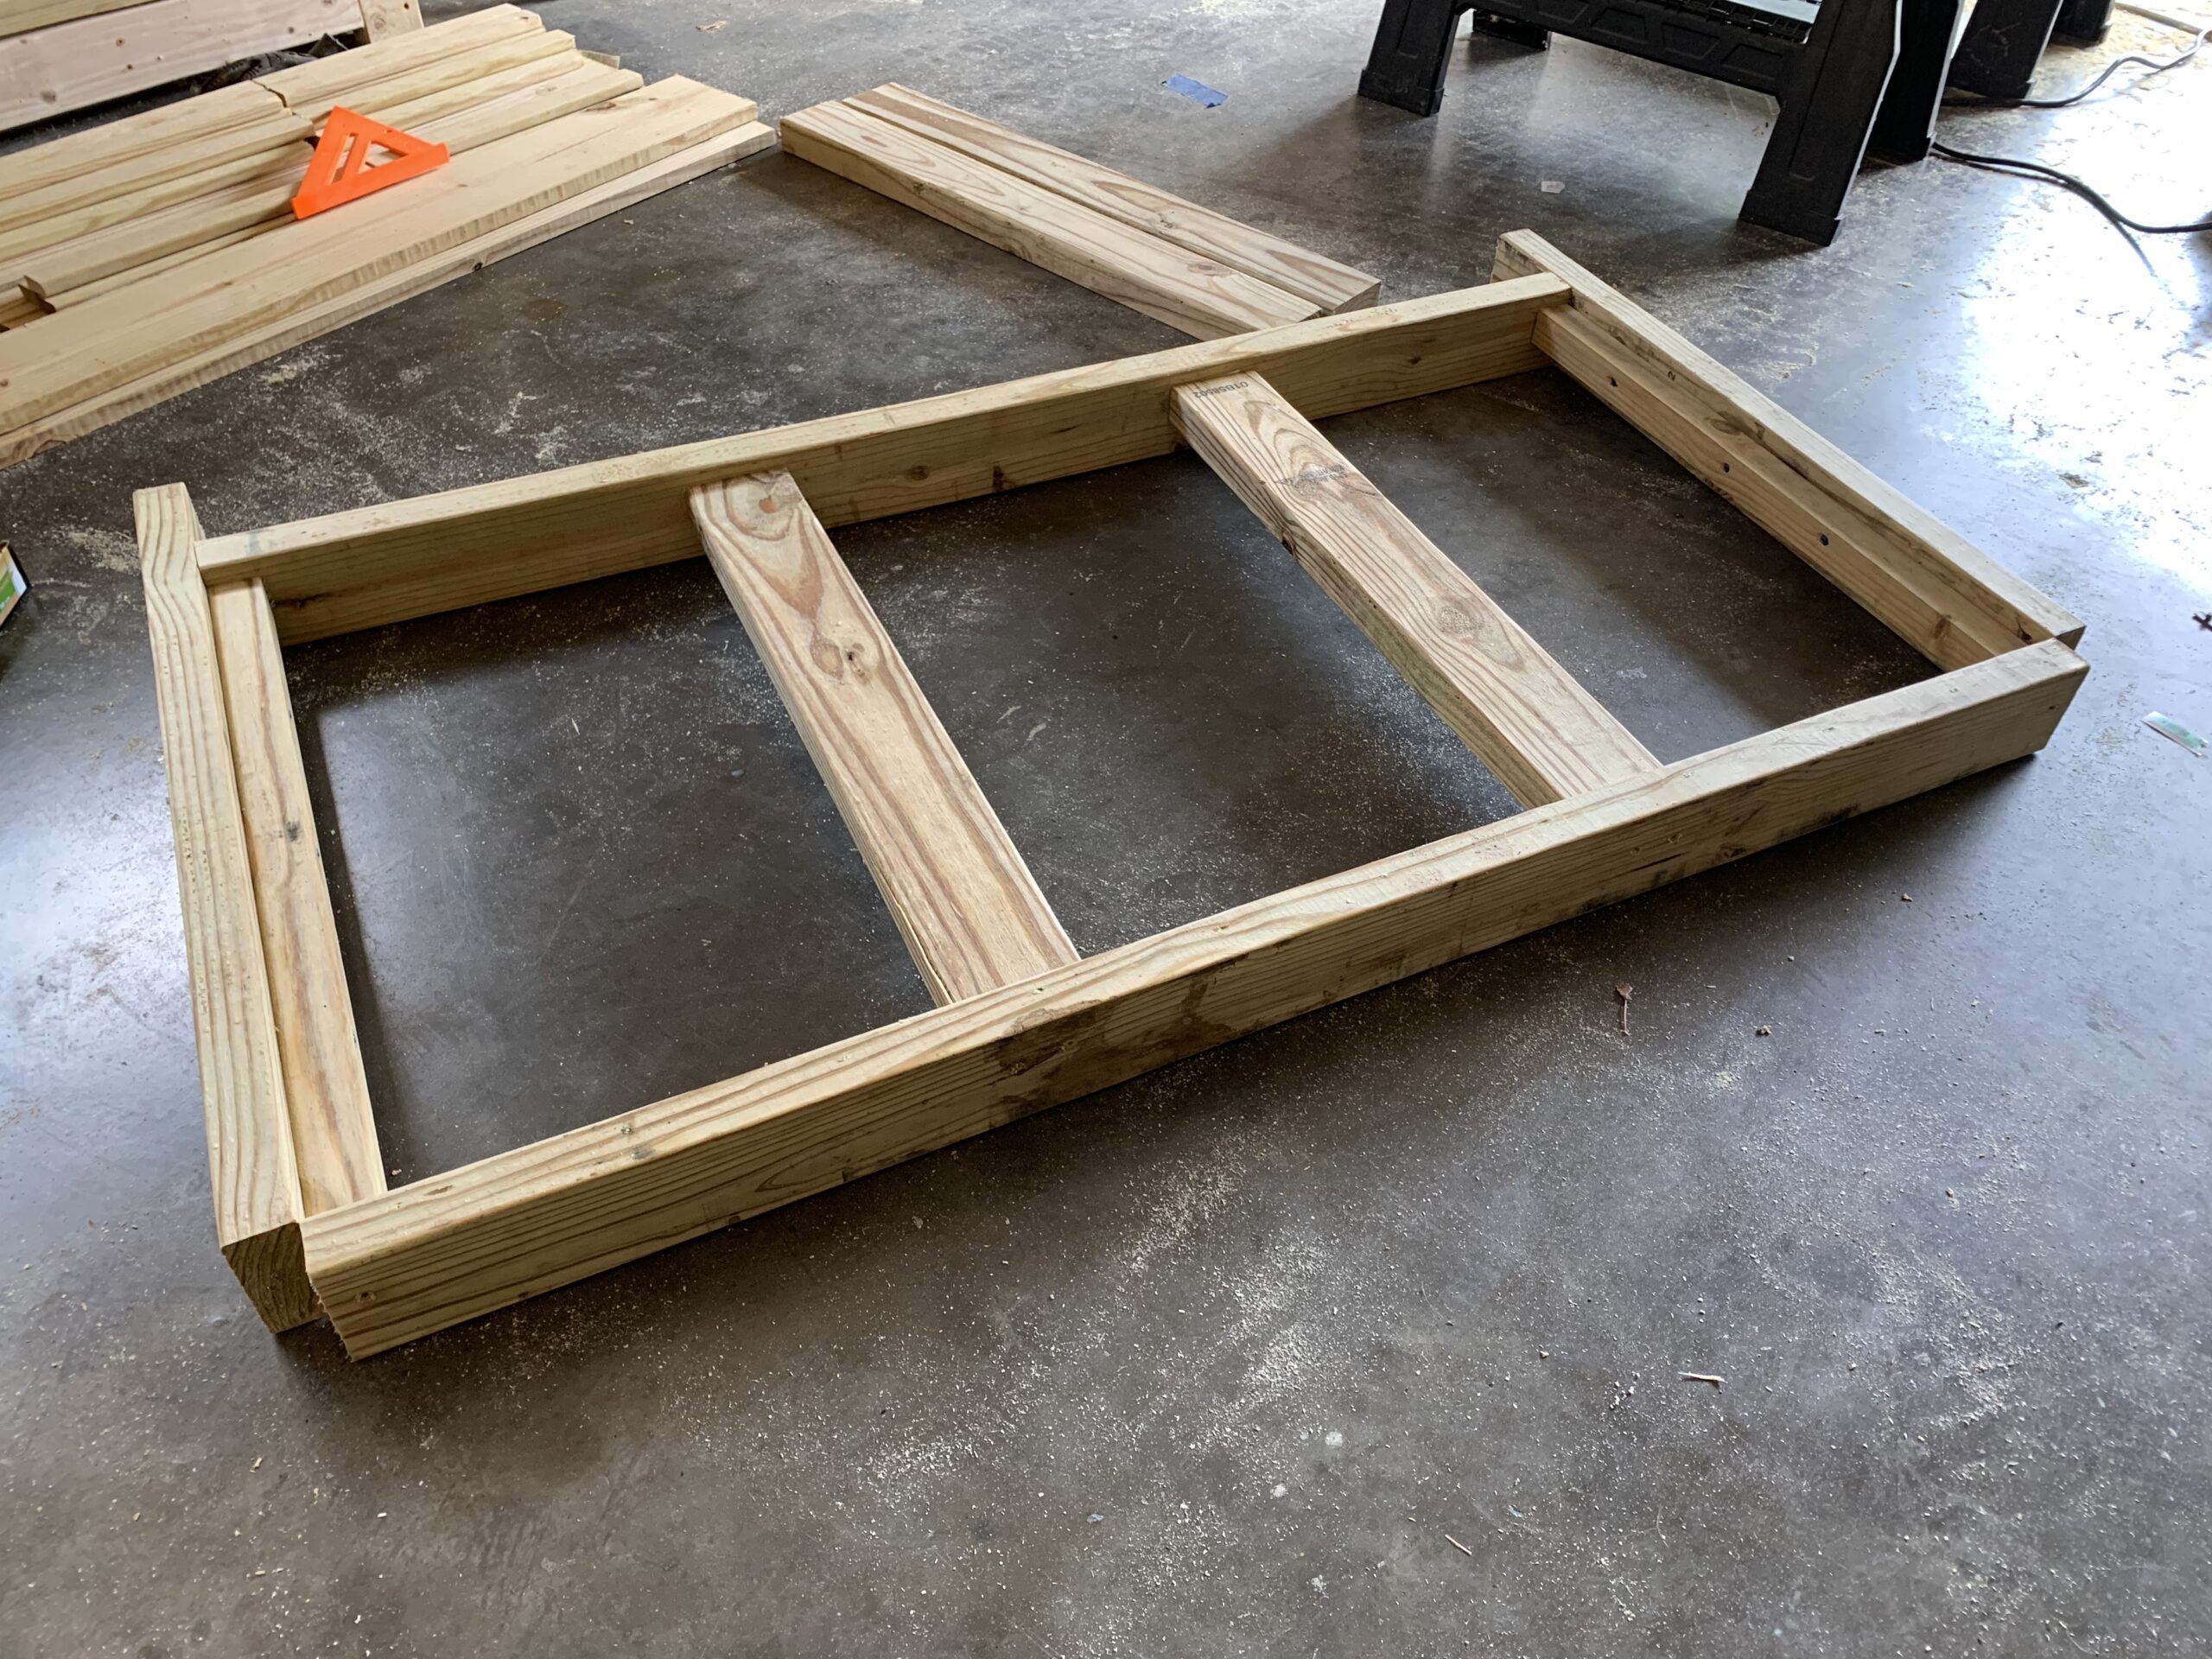
Here the size of our swing for reference:
BUILD YOUR SUPPORT SYSTEM
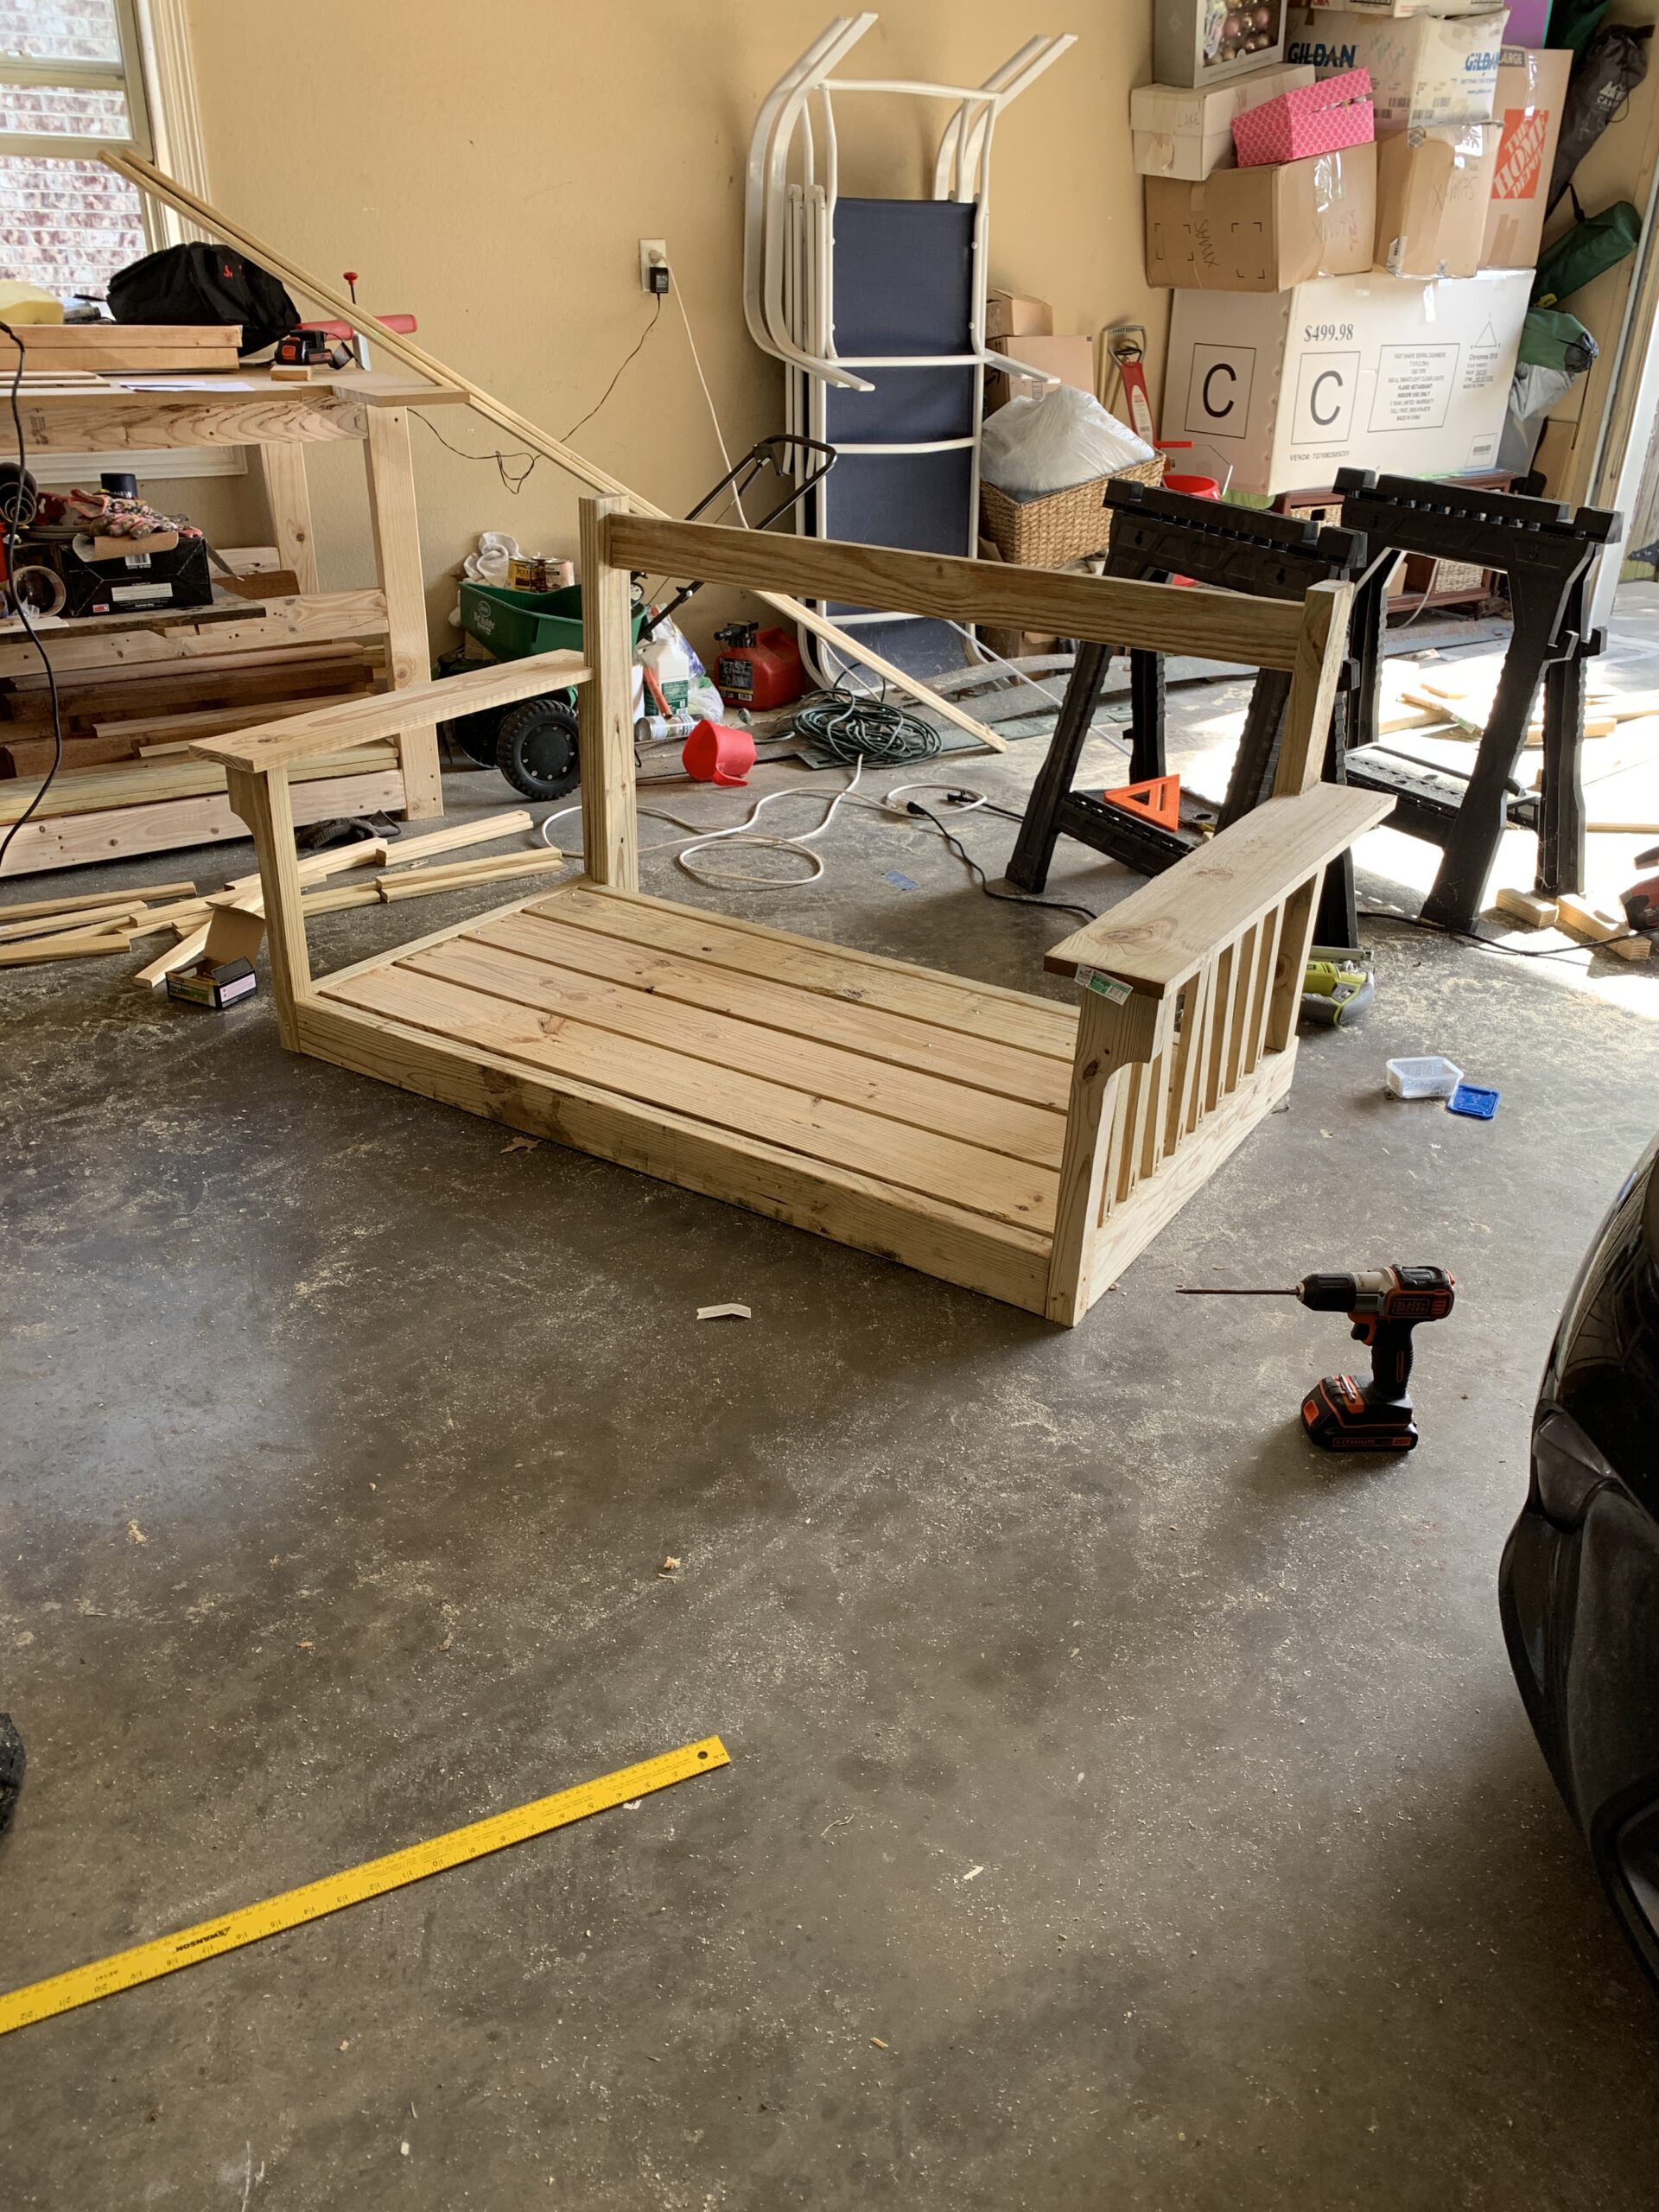
I then began building the frame as that is what the entire design is built off of. I made sure that this was as secure as possible by screwing every joint and overlap. That way when we are swinging, we won’t have a lot of twisting from the base.
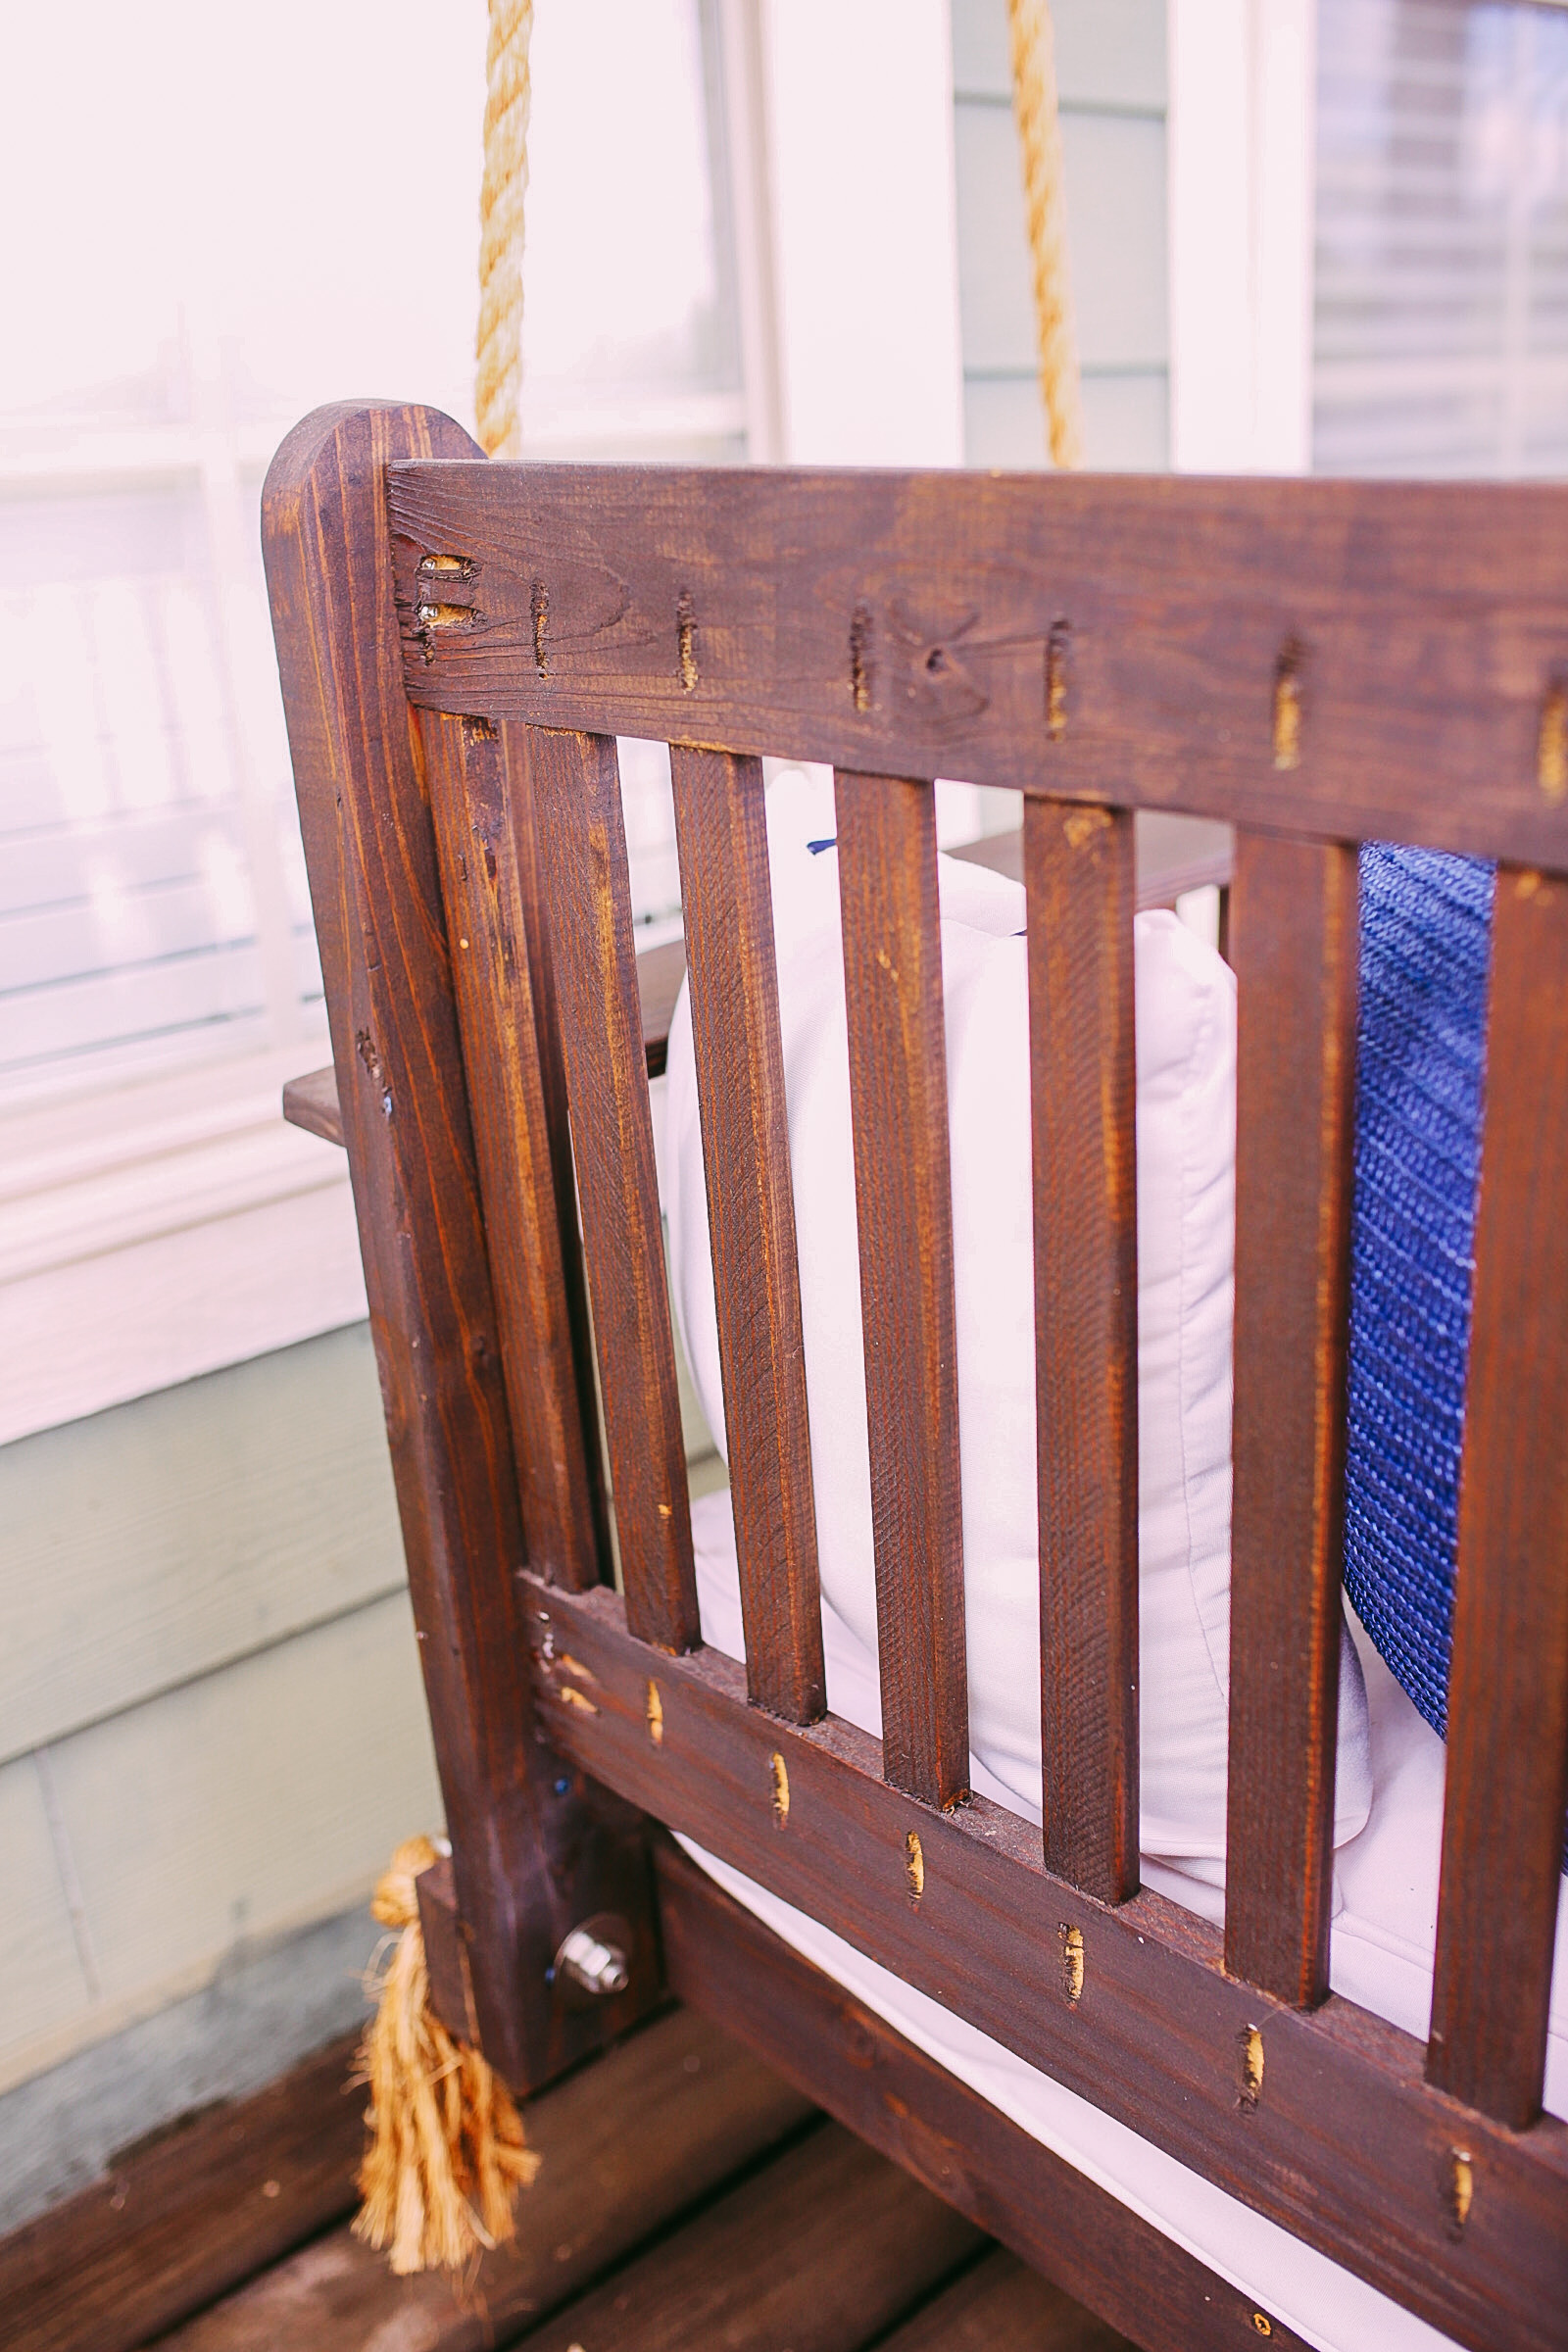
After the base was complete, I cut a notch design out of the front handrail support to give the swing a little character and life. I then built the backrest with pocket holes and wood glue. I made sure that all of the pocket holes would face to the outside of the swing as it would be hidden by the porch and no pocket holes would be seen when sitting in the swing. I attached the seat back at the very end of the build process.
BUILD VERTICALLY
Once the back was complete, I started building it vertically by adding the seat back supports the front handrail support, and then the back handrail support, along with all of the spindles.
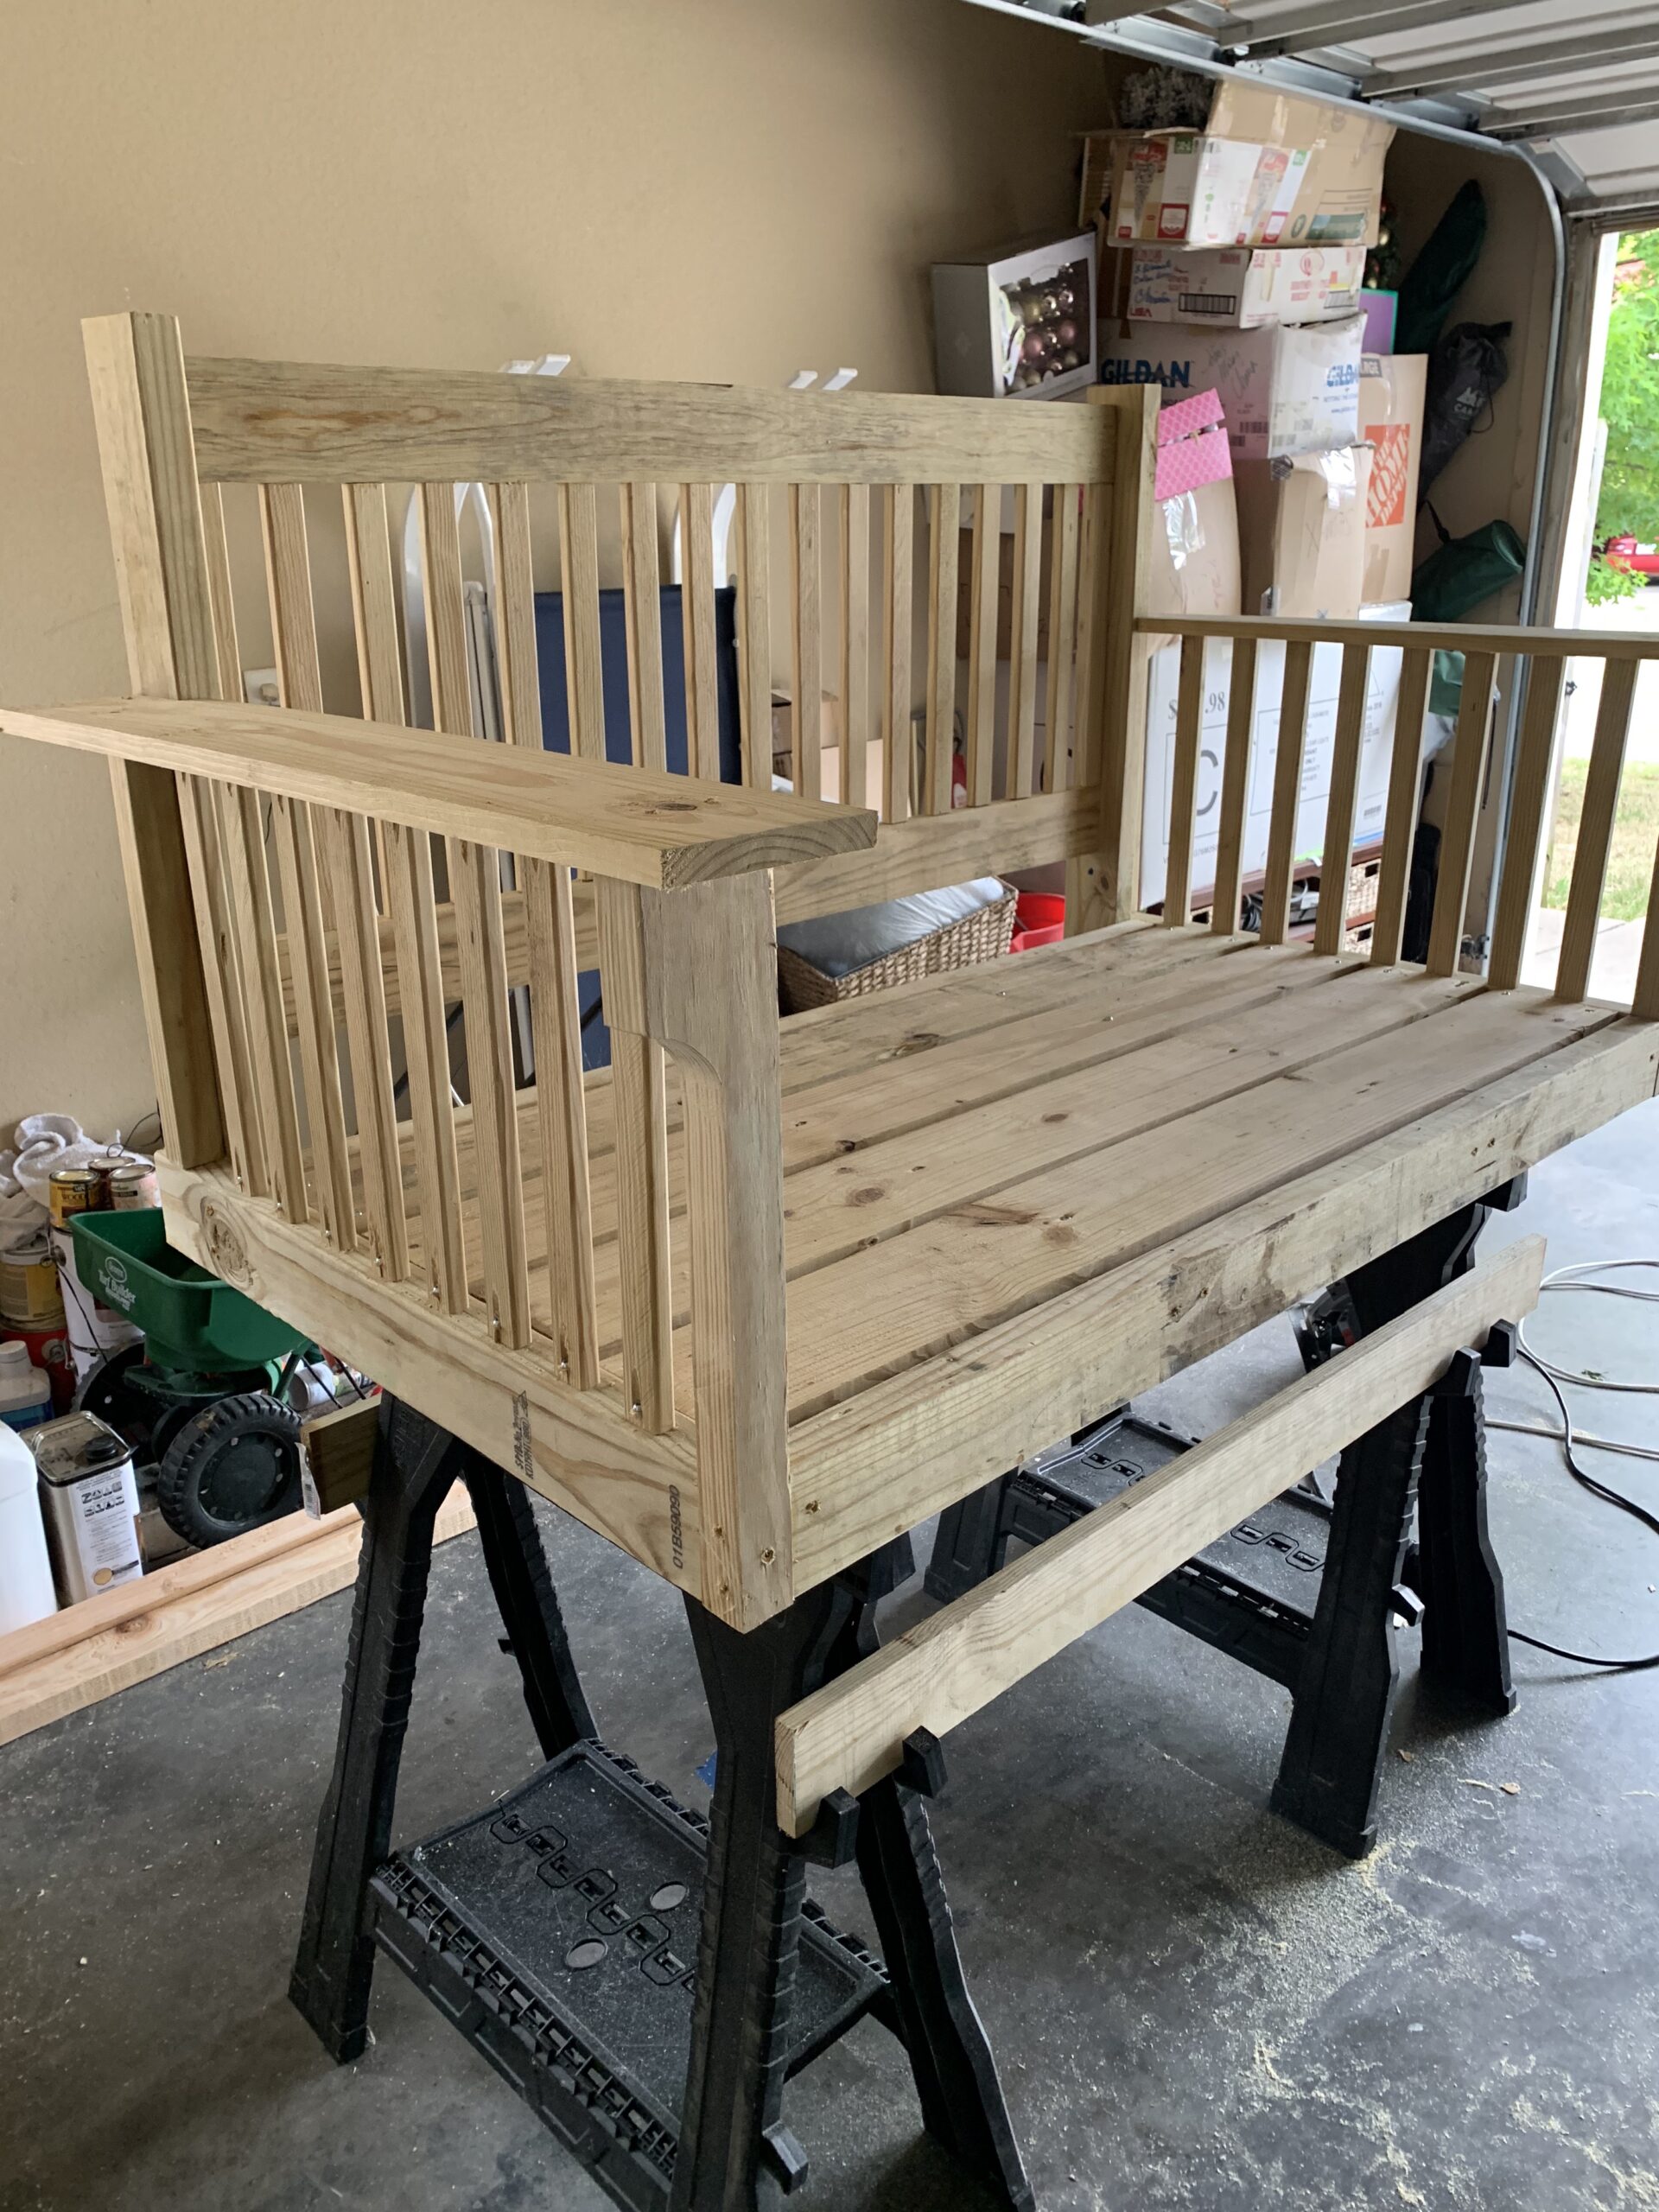
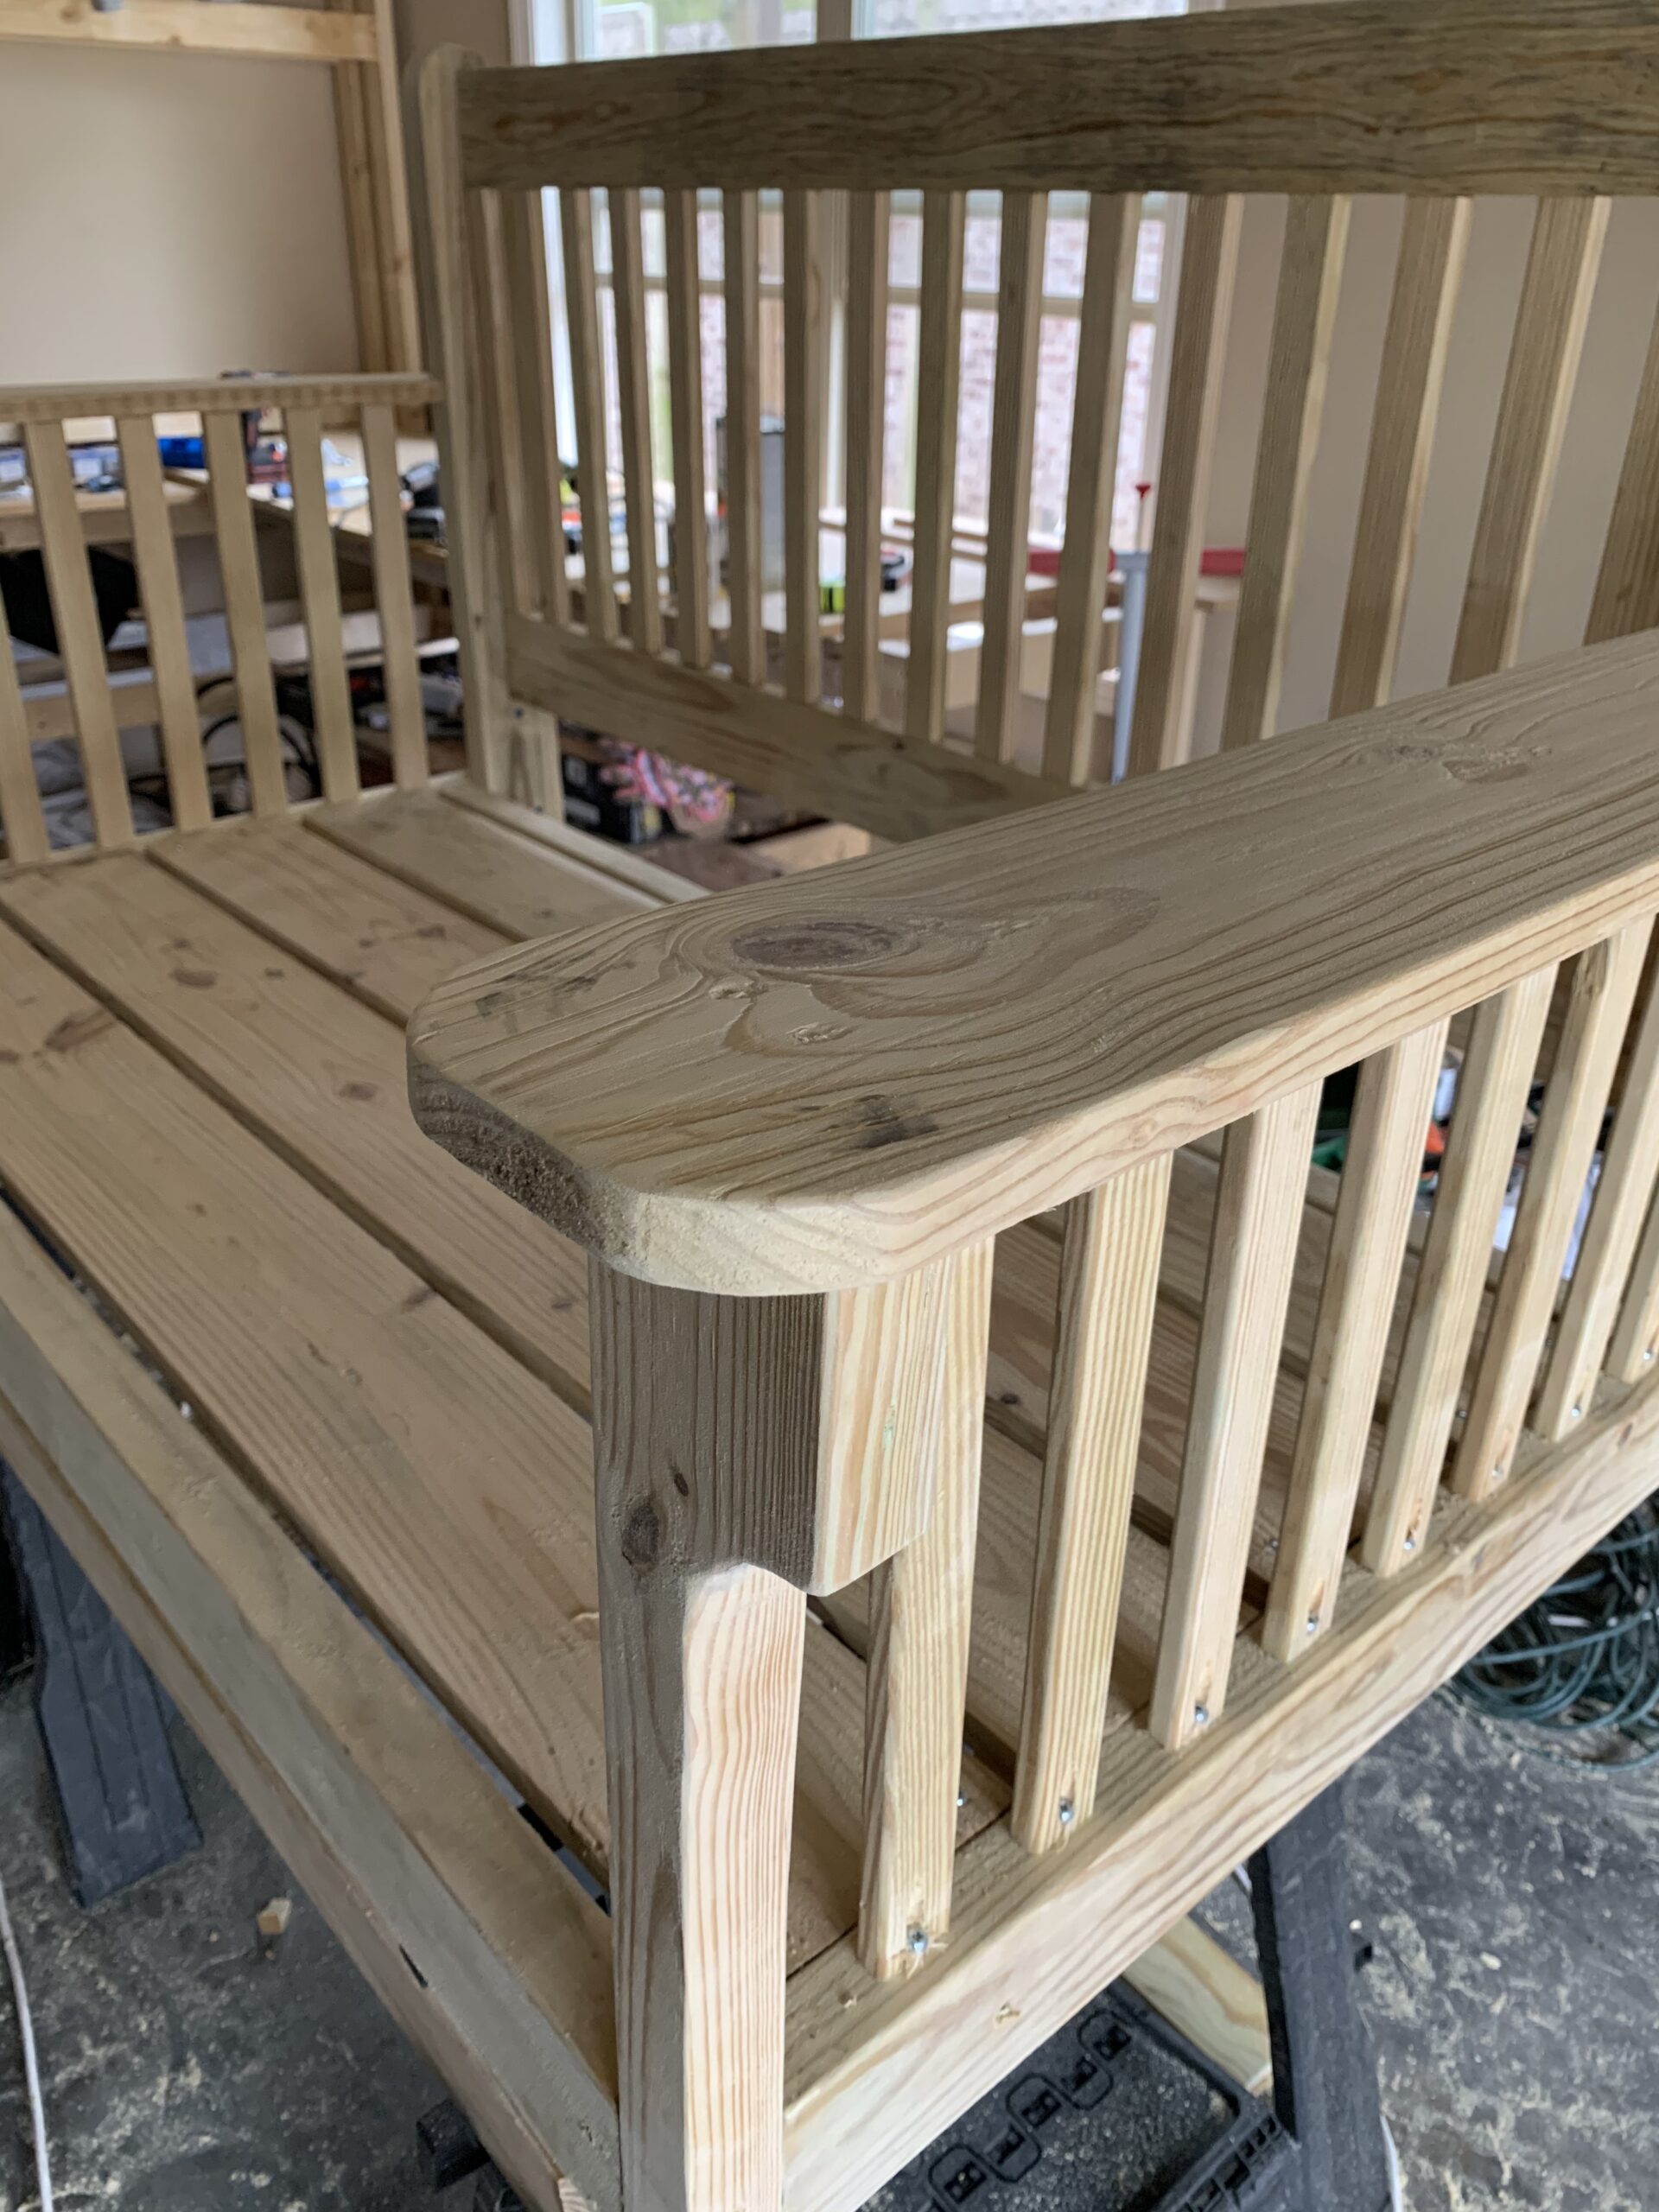
After that was done, I added the handrail. Then came the backrest. Here is what it looked like once that building was completed.
ADD FINISHING DETAILS
After that, I began trimming and rounding edges and sanding down the rough corners.

TIME TO STAIN/PAINT
Once all of that was complete, it was time to stain. We originally went with a mid-brown Walnut stain from Thompsons, but I had in my head that we should go darker. We took a poll on Instagram and darker won. I stained it with two more coats of Minwax Dark Walnut stain. There are no pictures of this process, see finished pictures below for color. I let the stain rest for a few weeks to fully dry and acclimate.
HANG YOUR SWING
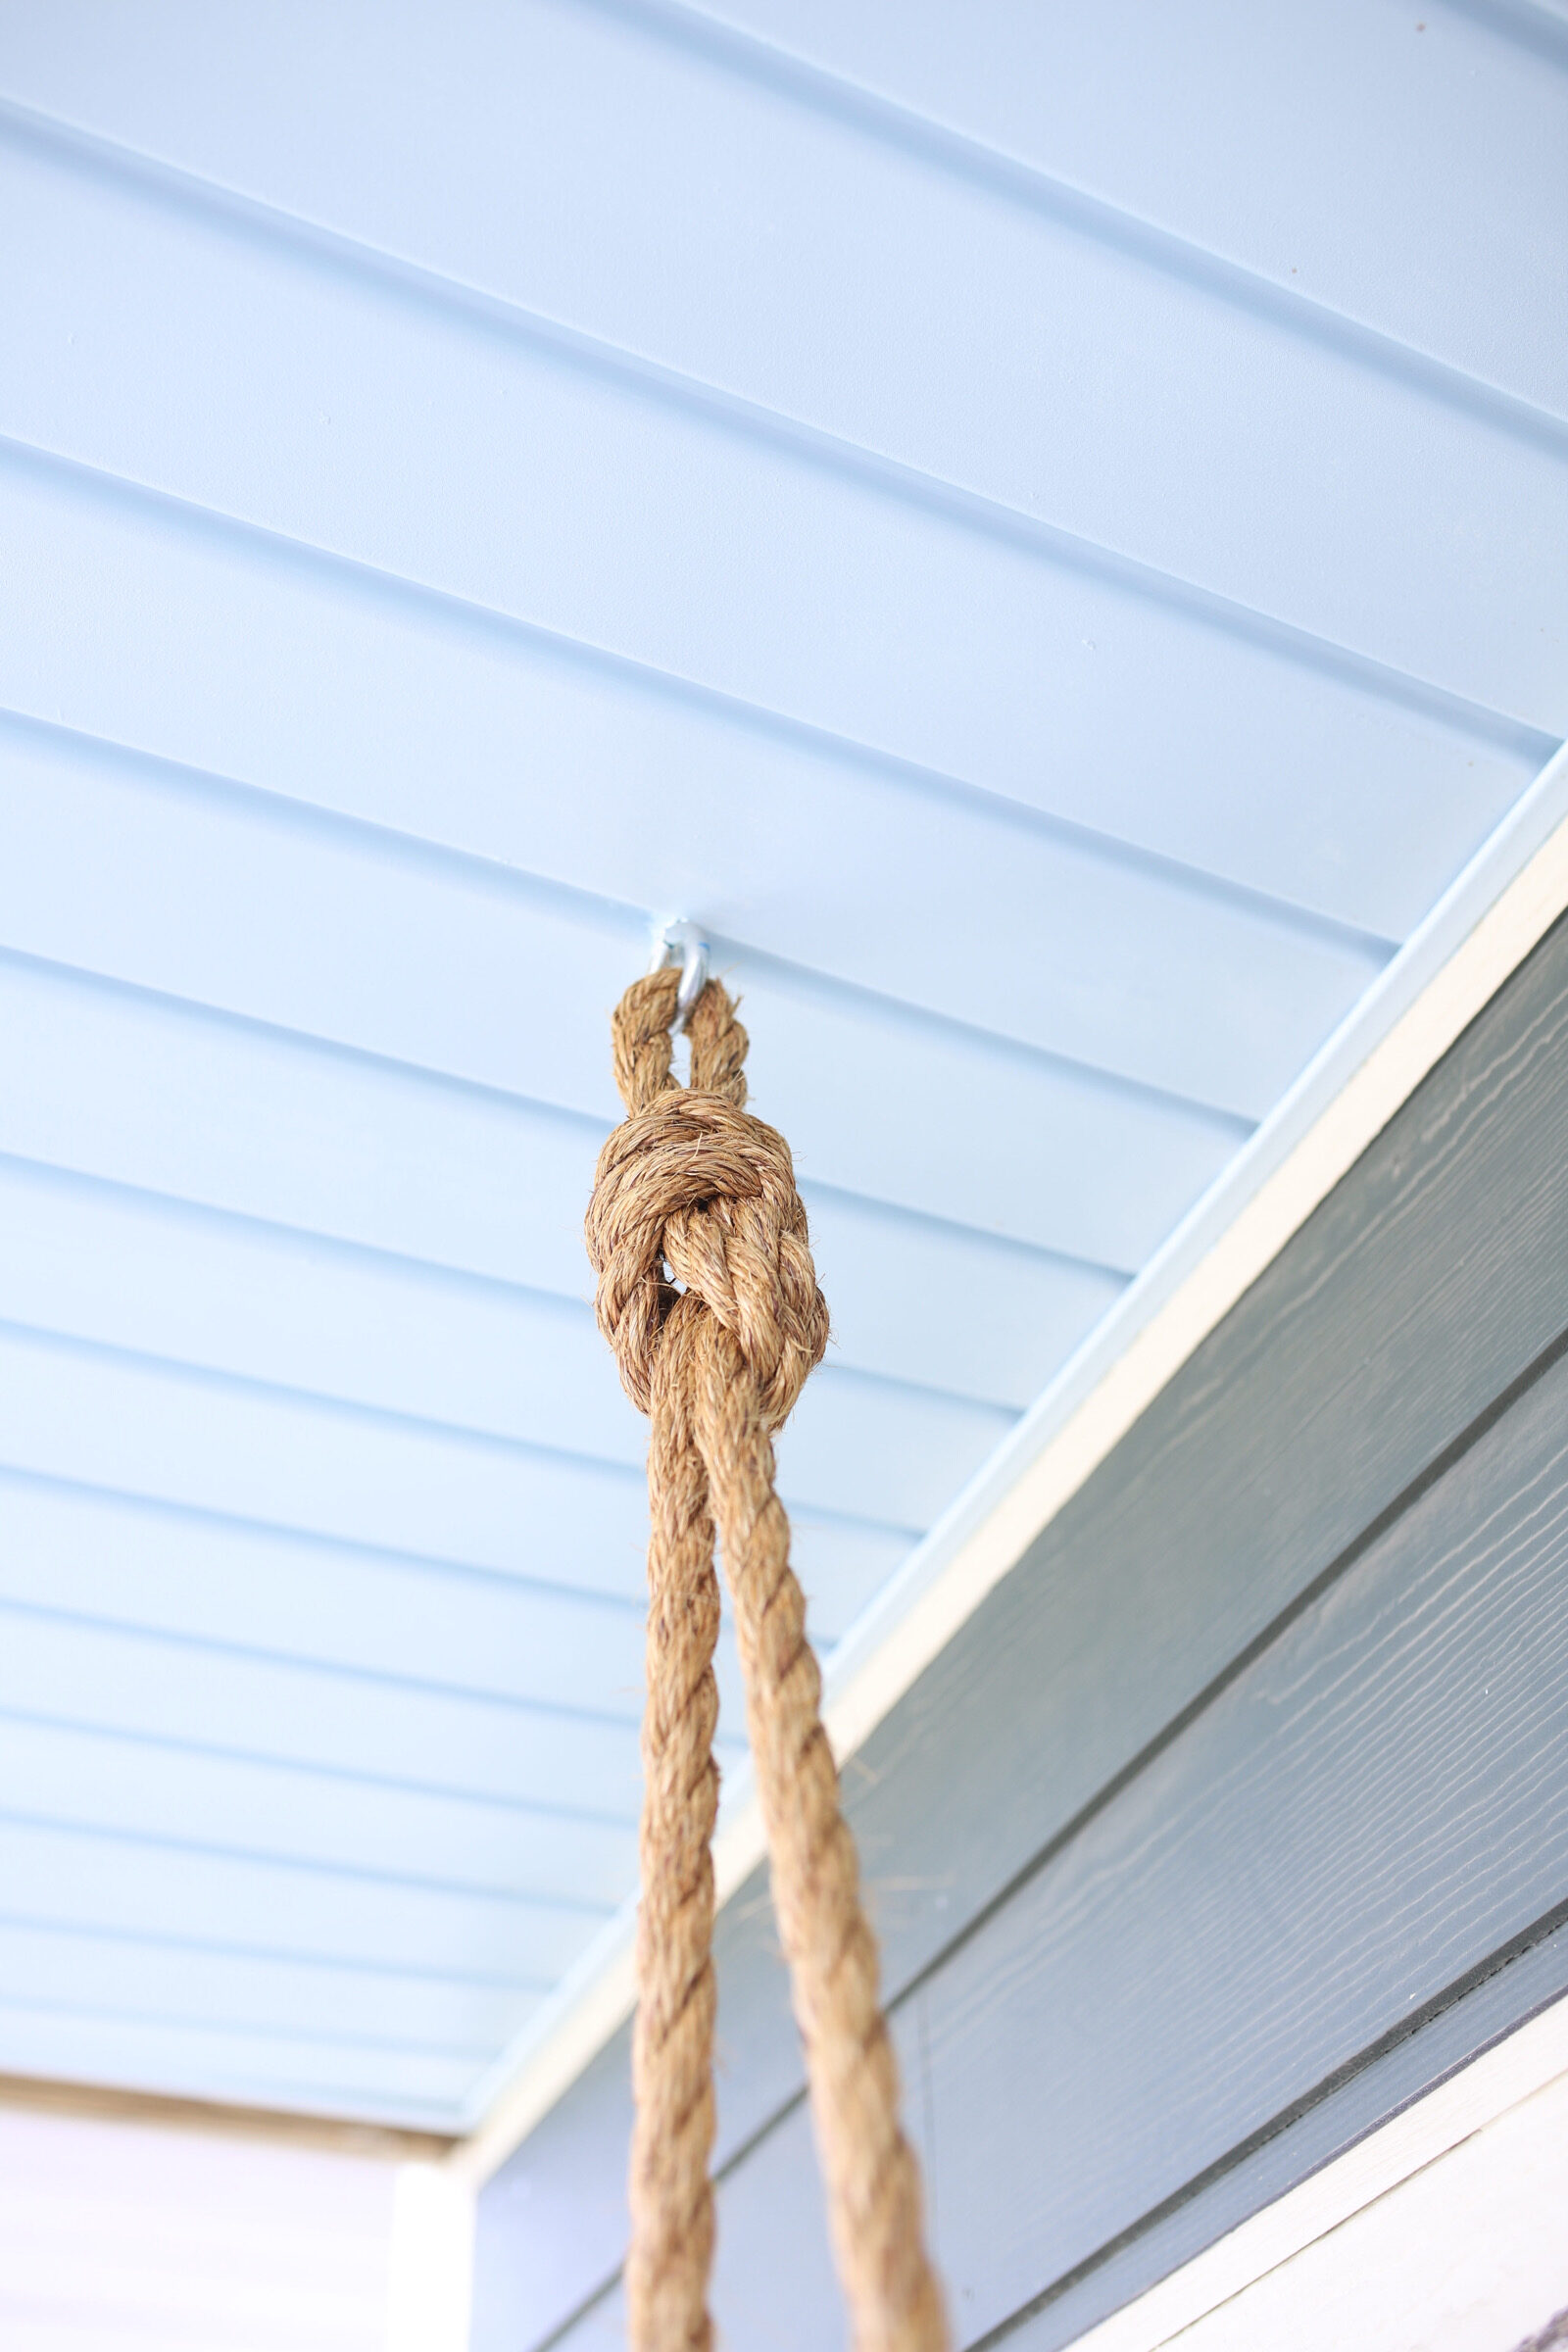
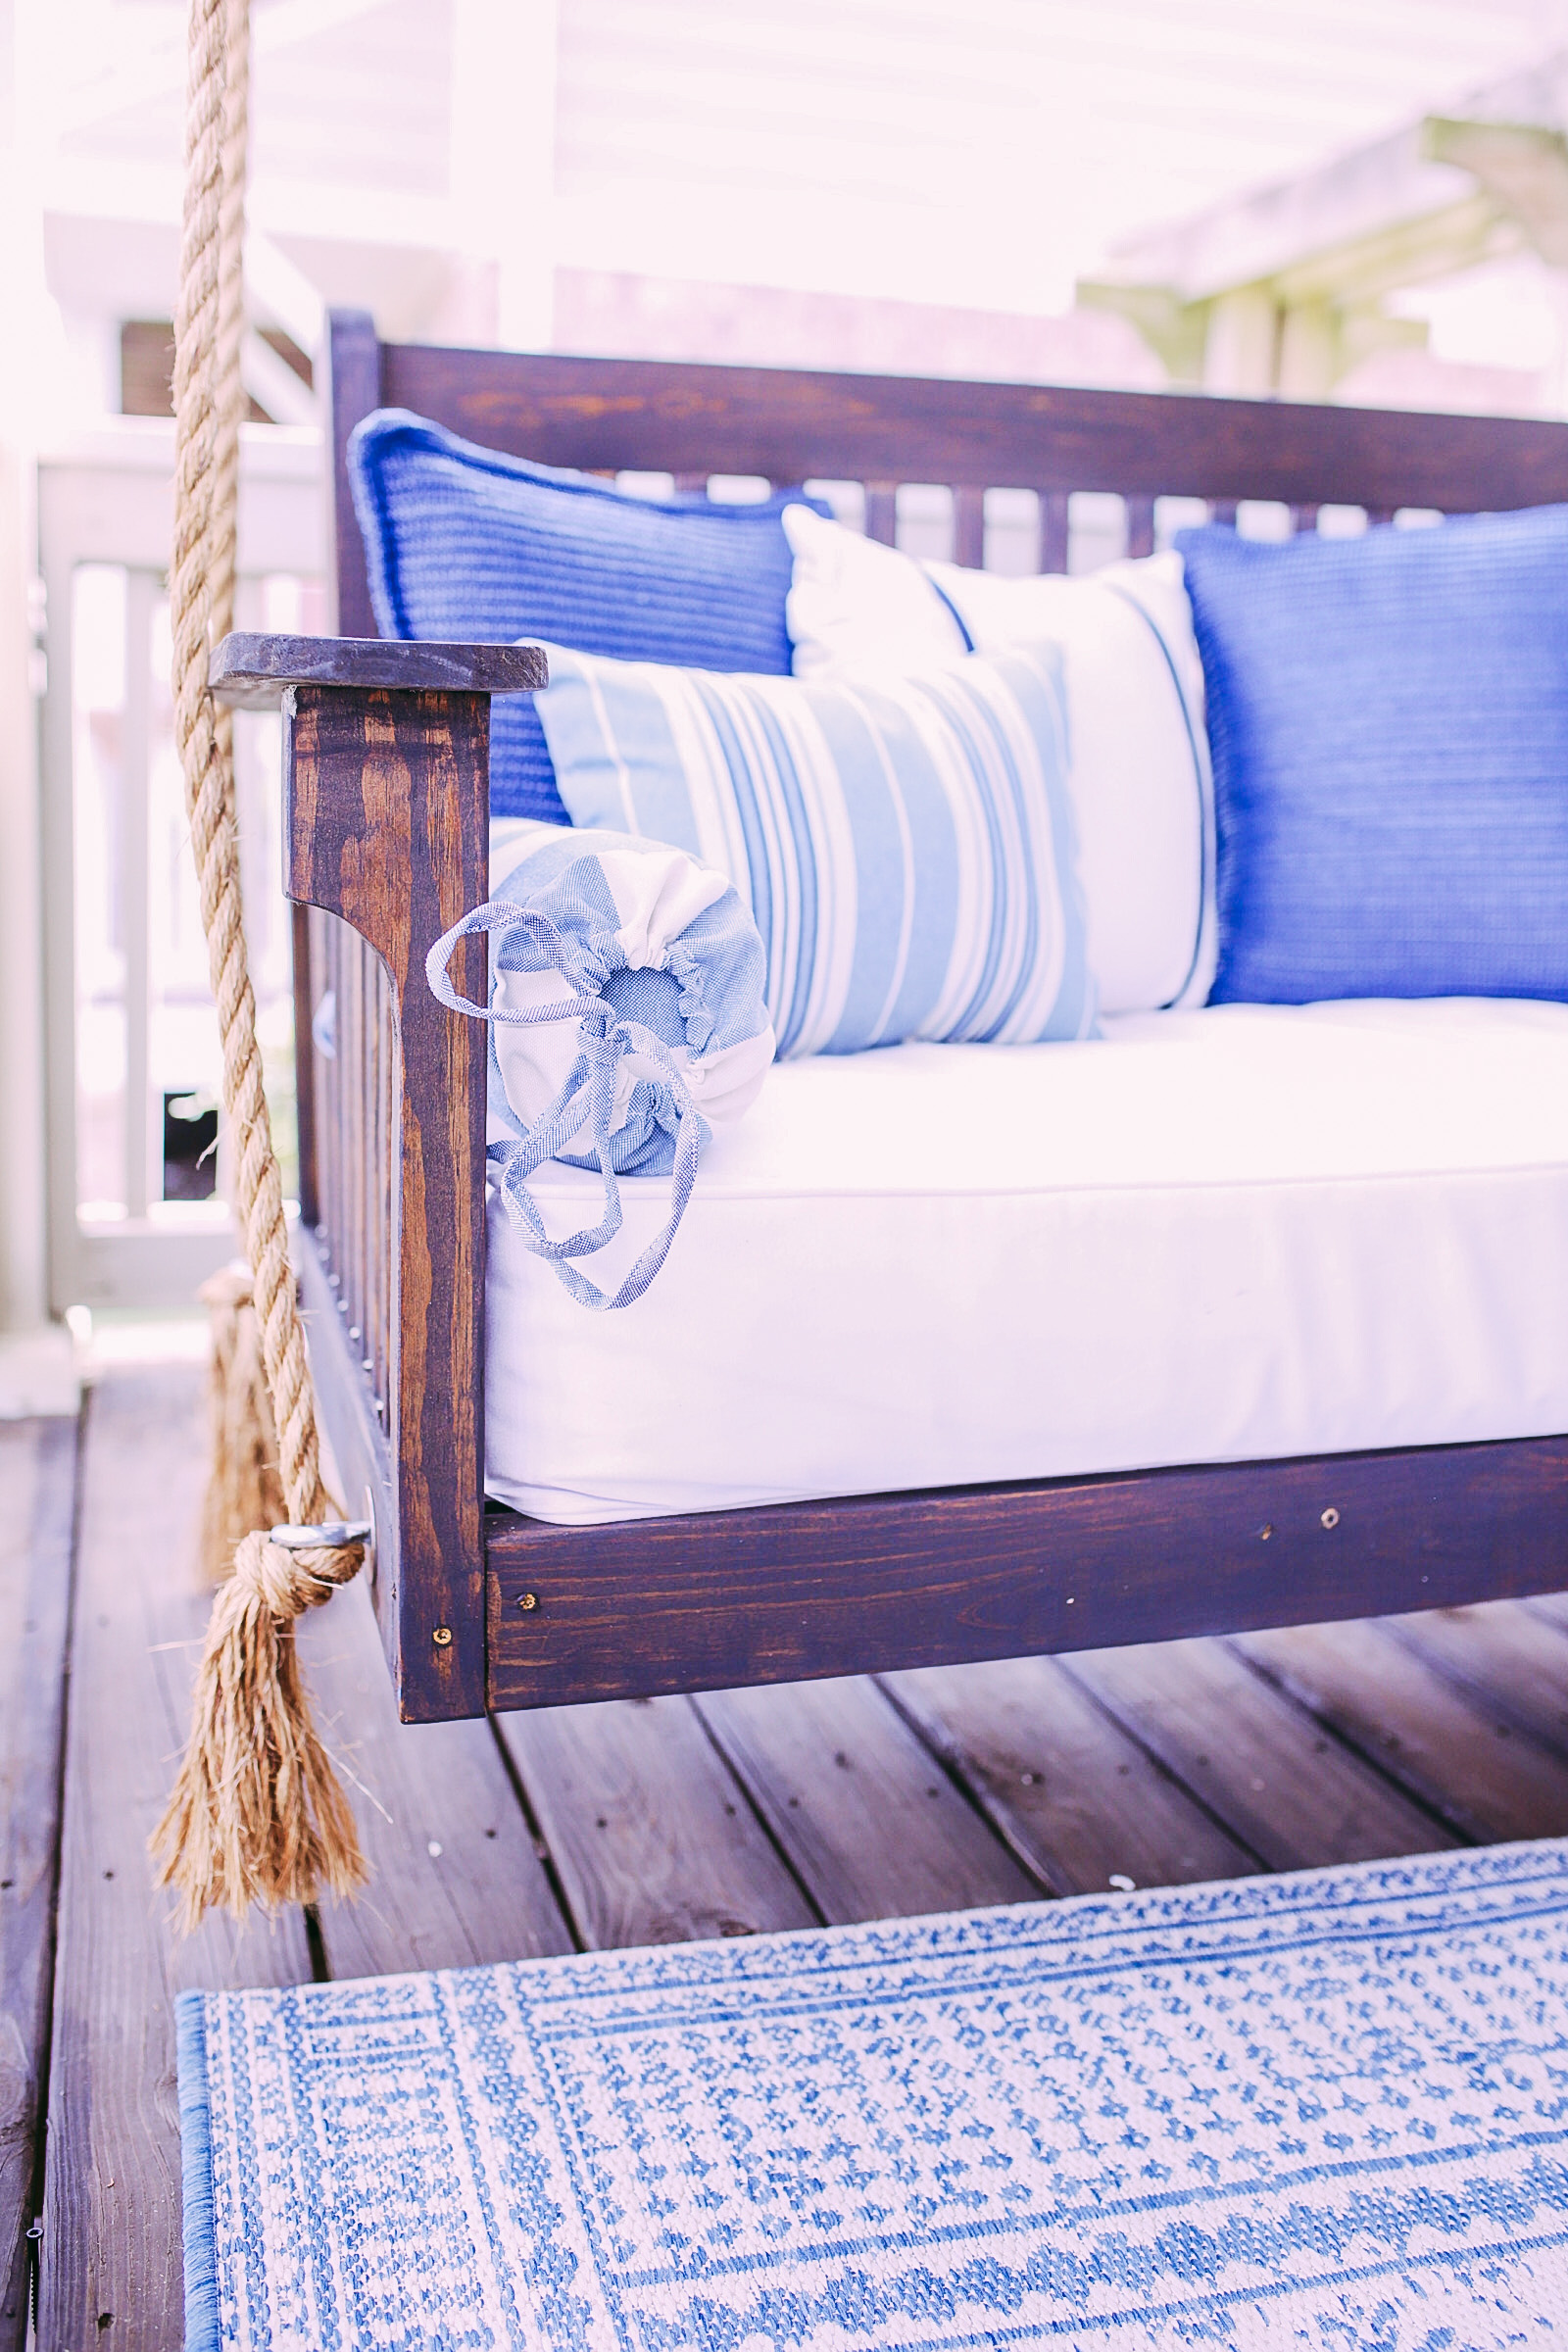
After the stain had dried it was time to hang. When I added our porch ceiling at the beginning of the summer I made sure to add the eye screws into the rafters so the hanging process would be a lot easier. I used the 3/4” braided rope and tied a knot at the top so the swing wouldn’t fall forward or backward when swinging and secured it to the two eye bolts that I had installed (pictures below) on each side of the frame. We then tied knots and cut the excess rope off.
Viola, there you have it! A DIY crib mattress front porch swing that cost under $150 to build.
Finished Look
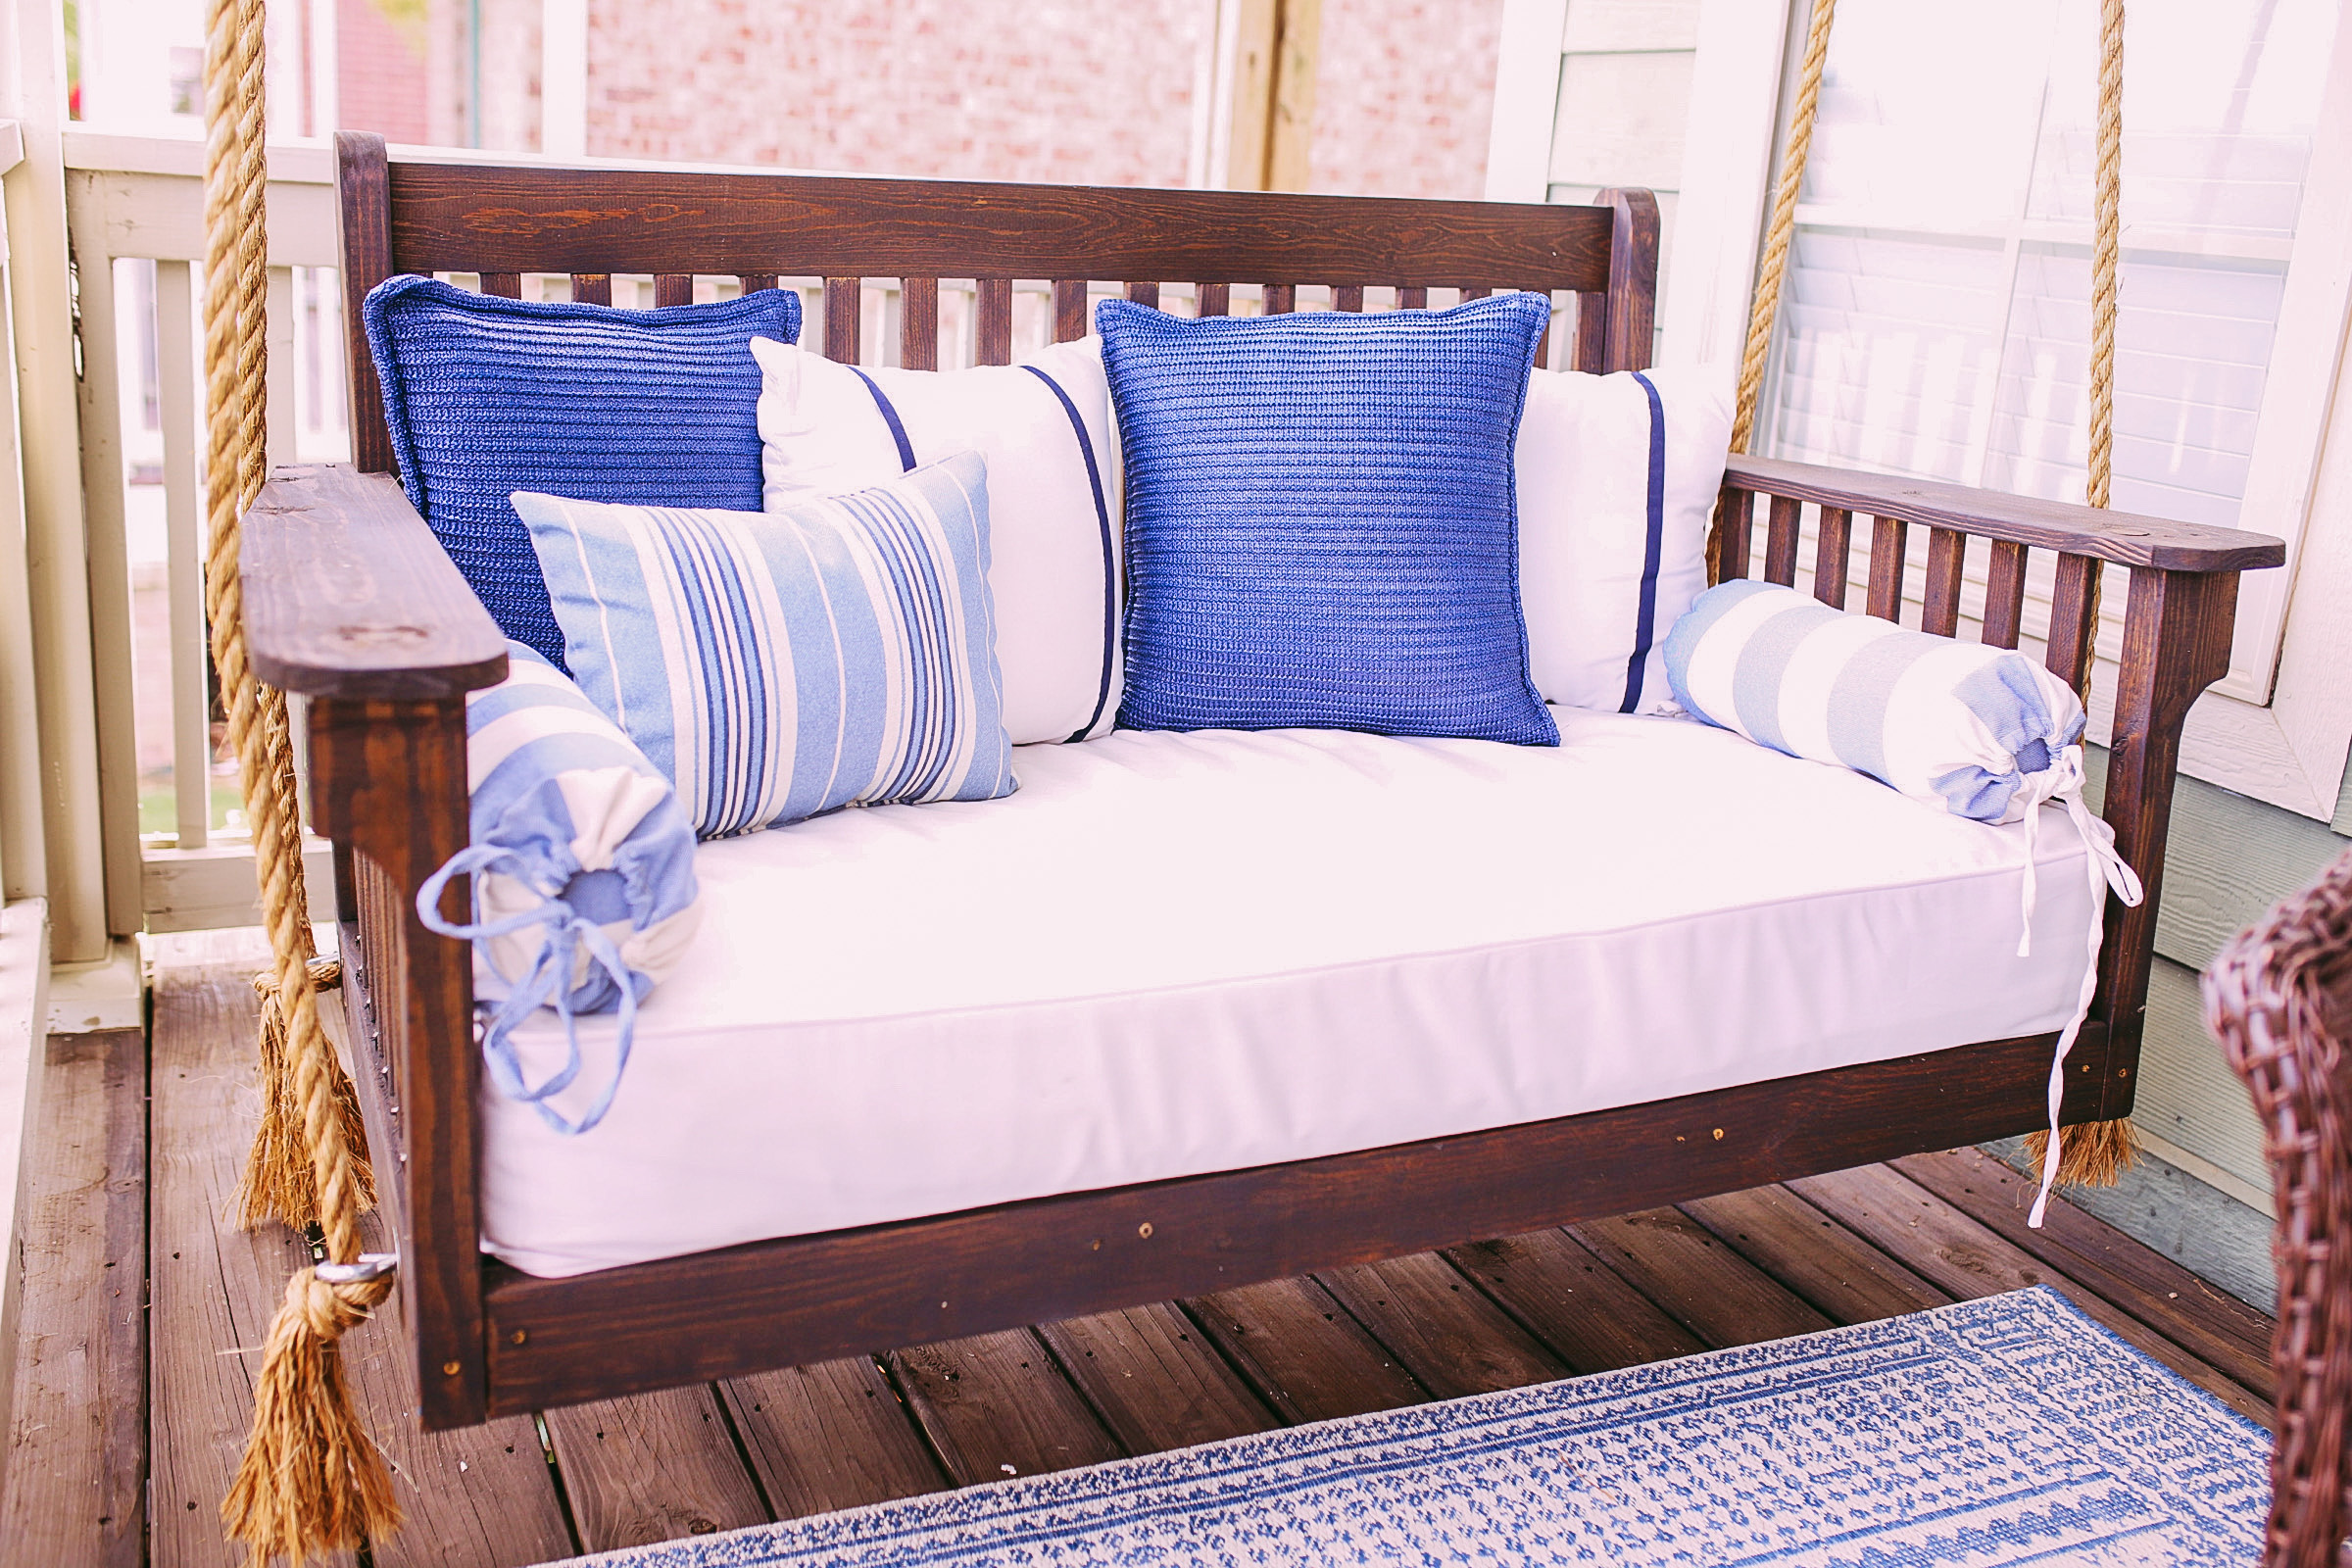
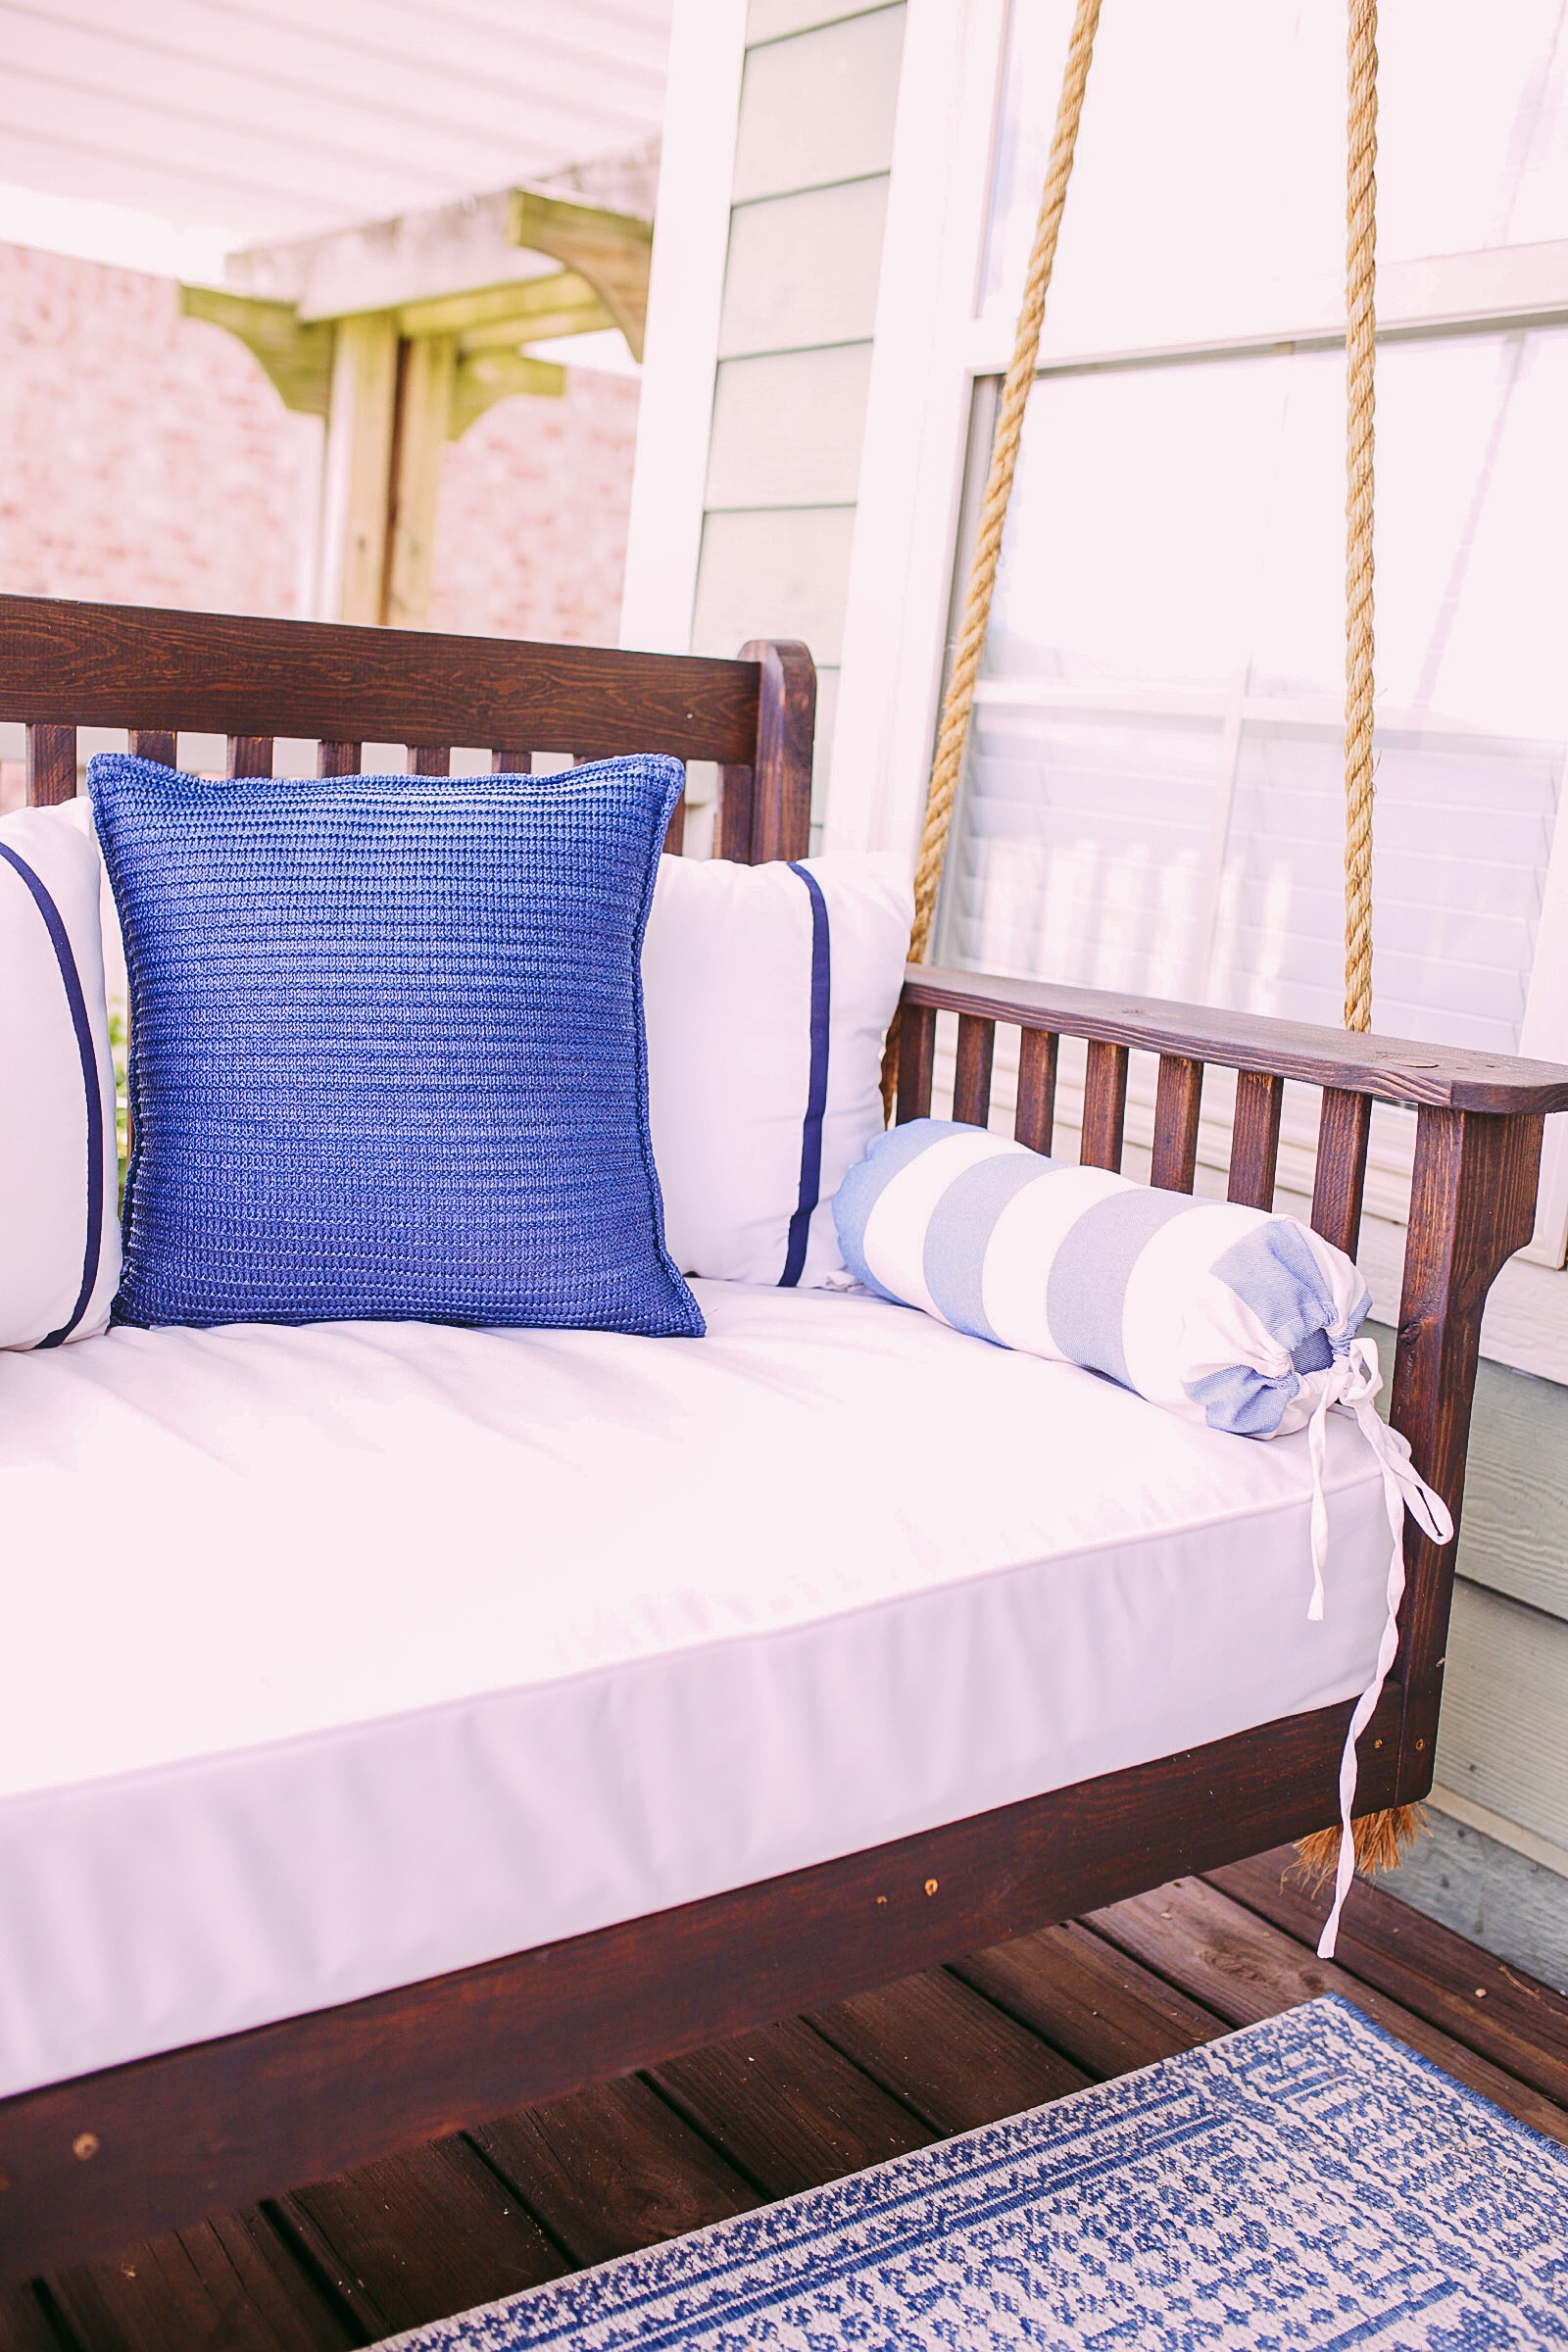
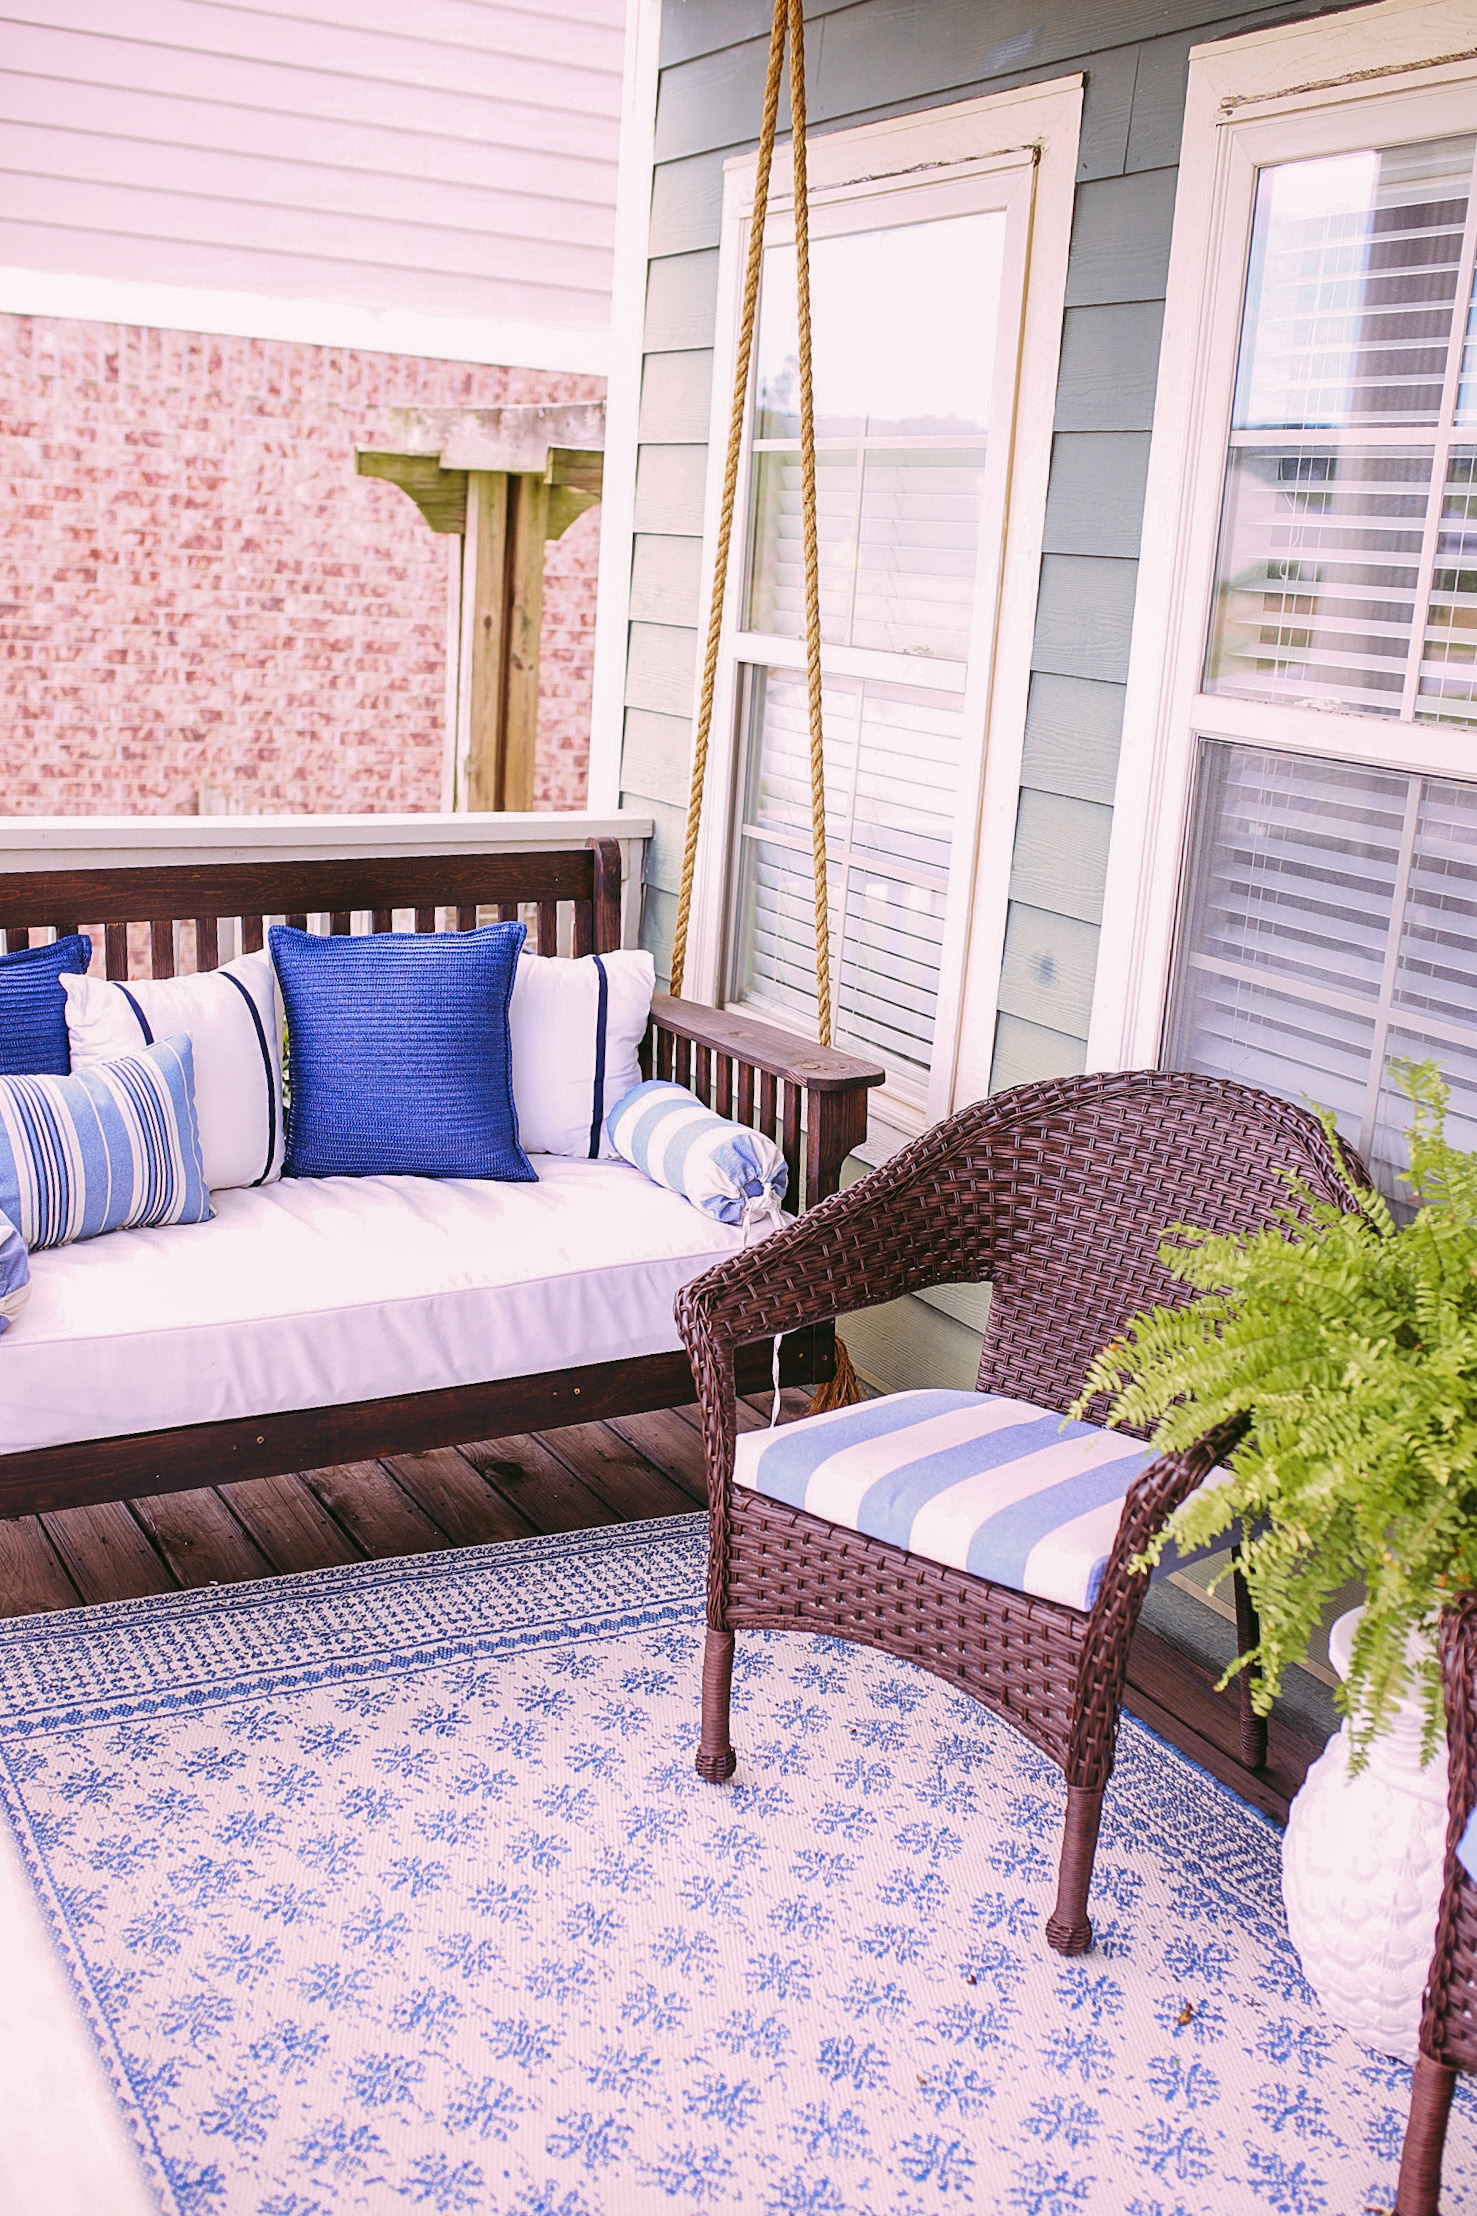
We then styled it and added the crib mattress which we got from Walmart, added a custom outdoor mattress cover and waterproof cover underneath the top cover, and topped it off with pillows (linked below) to finish it off.


Shop the Post:



Love this! So very helpful. Also love the cover you have for it. Do you mind sharing the source for the custom cover?